


Do you want to enhance your website's functionality by adding a contact form in WordPress? Implementing a contact form is an efficient way for your audience to reach out, submit inquiries, and provide feedback. Furthermore, it serves as a valuable tool for lead generation, helping you expand your email list and nurture your audience.
This tutorial will guide you through the straightforward process of creating a WordPress contact form with ease, requiring no coding knowledge.
In This Article
- Step 1: Install the Form Builder Plugin
- Step 2: Select the Simple Contact Form Template
- Step 3: Customize Your Contact Form
- Step 4: Configure Contact Form Notification Settings
- Step 5: Embed Your Simple Contact Form on a WordPress Page
- FAQs on Simple Contact Forms
To demonstrate the simplicity and efficiency of using a dedicated form builder solution to create a contact form in WordPress, many tools offer an intuitive setup wizard. This user-friendly wizard streamlines the entire process, guiding you through each necessary step to build your first form quickly. You might find yourself with a completed form in just a few minutes, ready to be published on your site.
This guided challenge is often an engaging way to familiarize yourself with the plugin's capabilities and typically appears only during your initial form creation. If you are utilizing Elementor for your website design, you might also explore specific guides tailored for integrating a contact form within Elementor using a compatible plugin.
Ready to begin? Let's dive into the steps!
Step 1: Install the Form Builder Plugin
The initial step involves installing and activating a reputable form builder plugin. A widely recognized solution in the WordPress ecosystem is often rated as a top-tier plugin for creating various types of forms, making it an ideal choice for constructing professional contact forms.
For detailed instructions, you can refer to a step-by-step guide on how to install a plugin in WordPress. Once activated, the setup wizard will typically appear, offering an option to embark on a guided setup process. This guided experience is designed to help you create your first form swiftly, preparing you to establish a functional "Contact Us" page on your WordPress site.
Click on the designated button, such as "Start the Challenge" or "Begin Setup," to commence the process.
Step 2: Select the Simple Contact Form Template
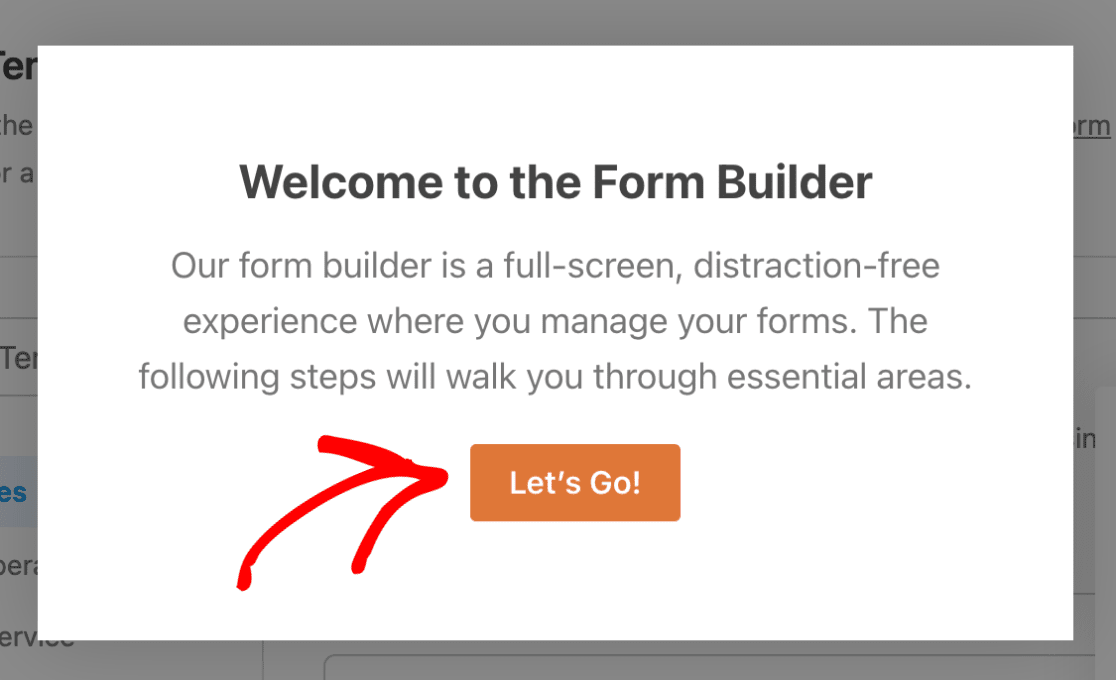
After initiating the setup, you will be directed to the form configuration screen. Here, you have the opportunity to assign a name to your new form and choose from an extensive library of pre-designed templates, which often number in the thousands. These templates cater to a wide range of categories, including customer service, marketing, and various other business functions, as well as specific needs for non-profit organizations.
Proceed by clicking "Let’s Go" or a similar confirmation button to advance.
The first part of the setup typically asks you to name your form. Enter a descriptive name for your form and click "Done" to move to the subsequent step.
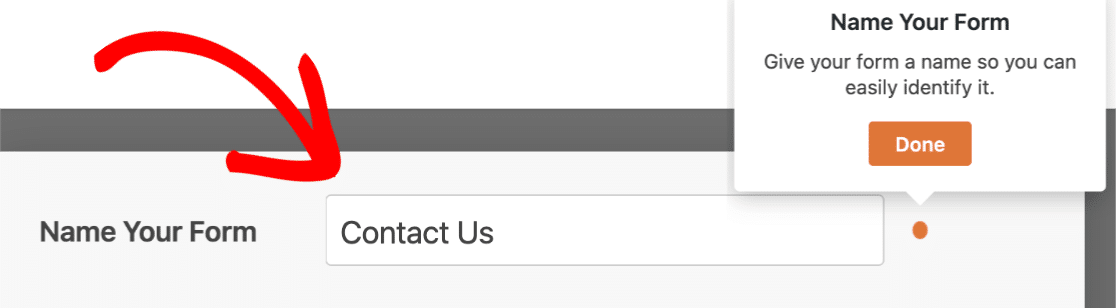
You may notice a timer indicating the quick pace at which you can build the form.
Next, you will be prompted to select either a pre-designed template or a blank template, should you prefer to construct your form from scratch. For the purpose of creating a standard contact form, we recommend selecting the "Simple Contact Form" template.
As soon as you click on your desired template, the form builder interface will load a basic contact form, pre-populated with essential fields and ready for customization.
This is your workspace to tailor the contact form precisely to your requirements, allowing you to add new fields, remove existing ones, or modify their individual settings.
Step 3: Customize Your Contact Form
Once you are within the form builder, an introductory message or popup may guide you on the next steps. Customizing form fields in WordPress is remarkably straightforward, thanks to the intuitive drag-and-drop functionality offered by modern form builders.
To add new fields to your contact form, simply drag them from the available field panel on the left to the form preview area on the right. To make adjustments to an existing field, click on it, and its settings will appear, allowing you to modify labels, placeholders, and other properties. Fields can also be easily reordered by dragging them to a new position on your form.
When designing your contact form, it is generally advisable to keep it as concise and simple as possible to encourage completion. However, you have the flexibility to include any additional fields that are pertinent to your needs. For instance, you could add an honorific field (e.g., Mr., Ms., Dr.) or incorporate more advanced options such as conditional logic, file upload capabilities, various payment fields (e.g., for donations or service inquiries), checkboxes, and many other sophisticated features often available in premium versions of the plugin.
After you have finalized the customization of your form, click "Done" to save your changes and proceed.
Step 4: Configure Contact Form Notification Settings
The subsequent phase of the setup involves reviewing and configuring your form’s notification settings. Typically, form notifications are automatically enabled for every new form created within the plugin. These notifications are usually pre-configured to be sent to the website's administrative email address, containing comprehensive details of each submission as it occurs.
However, you might also want to ensure that the person who submitted the form receives an email confirmation. This is easily managed within the plugin; you can create multiple form notifications, directing them to different members of your team, as well as sending a confirmation email to your customers upon their form submission.
Furthermore, to maintain brand consistency across all your communications, you can explore options for adding a custom header to your email notification templates, ensuring a professional and branded experience for your users.
Once your form’s notification settings are accurately configured and reviewed, click "Done" to finalize this step.
Step 5: Embed Your Simple Contact Form on a WordPress Page
You are now ready to integrate your newly created contact form onto a page within your WordPress website. The embedding functionality is designed to be highly user-friendly, eliminating the need to directly manipulate shortcodes or complex code snippets.
To begin, locate and click on the "Embed" button, typically found at the top of the form builder interface.
You will then be presented with options such as "Select Existing Page" or "Create New Page." For this guide, we will choose to create a new page to host our contact form.
Next, you will be prompted to enter a name for your new page. A common and clear choice would be "Contact."
The plugin will then automatically place your contact form directly onto the designated page. Within this interface, you may also have the ability to style various elements of your form, including fields, labels, and submit buttons, using simple color pickers and style adjustments. Refer to dedicated guides on styling contact forms for more in-depth customization options.
Crucially, remember to click the "Publish" button for your page to ensure your form goes live and becomes accessible on your website.
And with that, your form is now successfully integrated and published! You may even see an indication of the minimal time it took to complete the creation and embedding process.
Beyond embedding on a dedicated page, you also have the flexibility to integrate your contact form into other areas of your site, such as the sidebar, utilizing available widget options.
Congratulations! You have successfully learned how to create and deploy a simple WordPress contact form.
FAQs on Simple Contact Forms
Explore the frequently asked questions below for further insights into simple contact forms within a WordPress environment.
What’s the benefit of using a contact form in WordPress?
Incorporating a contact form on your website provides a streamlined and secure channel for your visitors to submit inquiries, lodge complaints, offer suggestions, or share valuable feedback. Additionally, adding a contact form to your WordPress site offers several key advantages:
- Efficient Communication: Contact forms facilitate quick and direct communication between your audience and you, enhancing user engagement.
- Enhanced Security: Your email address remains protected from spammers. Since your contact form acts as an intermediary, your actual email address is not directly exposed on the public-facing site, significantly reducing the risk of it being harvested for junk mail lists.
- Improved Organization: A well-integrated contact form can connect with your email marketing services, simplifying processes through marketing automation. You can even link your form with spreadsheet applications like Google Sheets to automatically save and organize all submitted entries.
Is there a built-in contact form feature in WordPress?
No, the core WordPress.org platform does not come with a native, built-in contact form feature. To create and implement a contact form, you will need to utilize a dedicated plugin. Installing such a plugin is typically a quick and straightforward process, and many solutions offer a free version or basic functionalities that allow you to get started with a simple contact form without requiring a paid license immediately.
What are the essential fields to include in a contact form?
To maximize conversion and user experience, a contact form should be kept as minimalist as possible, comprising only the most essential fields. Typically, these include Name, Email Address, and a Message field. Many "Simple Contact Form" templates provided by form builder plugins already incorporate these core fields, meaning you often won't need to manually adjust them if your goal is an optimized and straightforward contact form.
Is it possible to track and manage contact form submissions?
Absolutely! The majority of WordPress form plugins integrate a dedicated dashboard within your WordPress administration area, where you can easily view, track, and manage all submissions received through your contact forms. In the free versions of many plugins, you will typically receive email notifications for every new submission. For more advanced features, such as storing all submissions directly within your website's database, upgrading to a premium version of the plugin is often required.
How can I back up and export contact form data for safekeeping?
One of the most effective methods for maintaining an external backup of your contact form data is to integrate your form with a cloud-based spreadsheet service, such as Google Sheets. Many premium form builder plugins offer native integrations that allow you to connect any WordPress form to Google Sheets. This setup ensures that all data collected is automatically added to your spreadsheet, providing a continuous and up-to-date backup with every new submission.
While you can also manually export your contact form data using most plugins, this method only captures information up to the moment of export. For a continuous and automated backup solution, integrating your form with a service like Google Sheets is highly recommended.
Next Steps: Enhance Form Security and Functionality
Most form builder solutions come equipped with a suite of spam protection tools designed to effectively mitigate unwanted submissions on your website. Even basic versions of these plugins often provide excellent free options, such as various reCAPTCHA versions (e.g., v2 and v3) to deter bots.
If you anticipate creating more extensive forms, consider implementing a multi-step form design in WordPress. This approach can significantly reduce form fatigue and encourage users to complete longer forms by breaking them down into manageable sections.
You might also be interested in exploring advanced features, such as hidden fields, offered by some form builders. These clever web form hacks can unlock valuable, underlying customer data without adding visual clutter to your form, providing deeper insights for your business.
