


Managing a Firewall in Plesk
Effective firewall management is paramount for safeguarding your online assets in today's digital landscape. Plesk offers robust tools that simplify the configuration of your server's firewall, providing essential protection against unauthorized access and potential threats. This guide will walk you through the process of accessing and configuring firewall rules within Plesk, enabling you to establish custom security policies tailored to your specific needs.
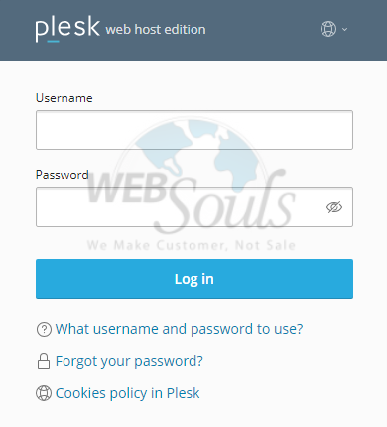
Step 1: Login to Plesk
To begin, access your Plesk control panel. Enter your designated username and password into the respective fields and click the login button to proceed to your dashboard.
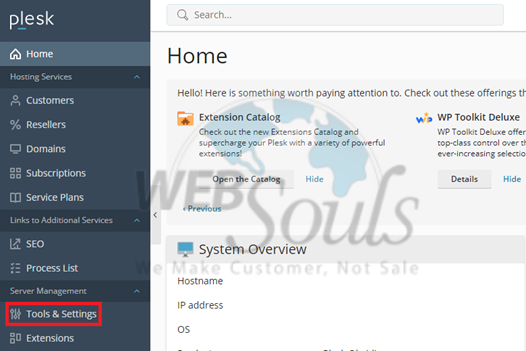
Step 2: Click Tools & Settings
Once logged in, navigate to the 'Server Management' section typically located on the left-hand sidebar. Within this menu, select the 'Tools & Settings' option. This section consolidates various administrative utilities and configurations available for your server.
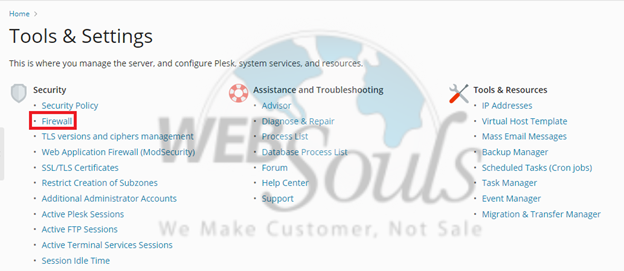
Step 3: Select Firewall
Under the 'Security' category within the 'Tools & Settings' page, locate and click on the 'Firewall' option. This will direct you to the dedicated firewall management interface, where you can review and modify your server's security rules.
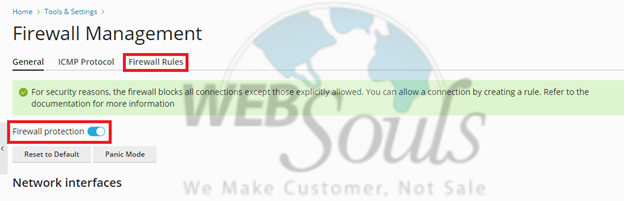
Step 4: Click Firewall Rules
Upon entering the firewall interface, ensure that firewall protection is actively enabled. If it is not, toggle the appropriate button to activate it. Following activation, proceed by clicking on the 'Firewall Rules' link. This action will display the current set of rules governing inbound and outbound traffic for your server.
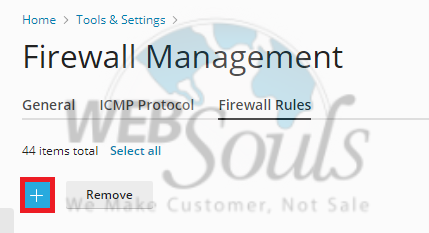
Step 5: Press the Create Option
To define a new firewall rule, look for an 'Add' or 'Create' option, often represented by a plus icon or a button, usually situated near the 'Delete' options. Clicking this will open a configuration dialog for your new rule, allowing you to specify its parameters.
Step 6: Select Deploy
After meticulously configuring all parameters for your new firewall rule—such as port numbers, protocols, and IP addresses—confirm your settings by clicking the 'OK' or 'Apply' button. To ensure these new rules take effect across your server, you must then select the 'Deploy' option. This action applies the updated firewall configuration to your system, activating the new security policies.
