


When collaborating on website development, managing content, or hosting multiple subdomains, creating distinct File Transfer Protocol (FTP) accounts becomes an essential practice. These accounts provide secure, designated access for different users, allowing them to upload, download, and manage files within specific directories. This guide will walk you through the process of adding new FTP accounts, modifying their settings, and removing them from your hosting environment, ensuring efficient and controlled access to your website's files.
Creating a New FTP Account
To establish a new FTP account for a collaborator or a specific purpose, follow these detailed steps within your hosting control panel:
- Begin by logging into your hosting control panel.
- Navigate to the Websites & Domains section, locate the specific domain you wish to manage, and then click on FTP, typically found under the “Files & Databases” category.
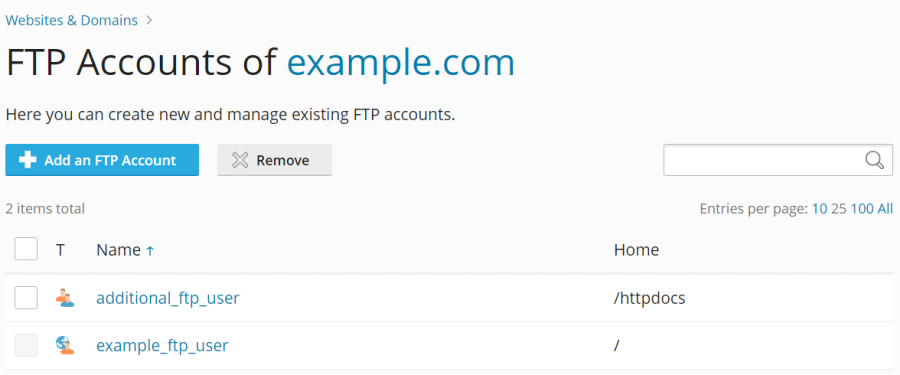
- Select the option to Add an FTP Account to initiate the creation process.
- You will then need to specify the following essential details for the new account:
- FTP account name: Choose a unique and descriptive name for the account. This will be the username the individual uses to connect via FTP.
- Home directory: Define the specific directory that the user will access upon logging in. This allows you to restrict their access to a particular segment of your website's file structure.
- Password: Create a strong, secure password for the FTP account.
- Hard disk quota (Applicable for Windows hosting environments): If you need to limit the amount of server disk space this FTP user can utilize, deselect the Unlimited checkbox and specify the desired disk space limit in megabytes.
- Read permission (Applicable for Windows hosting environments): Enable this option to grant the FTP user the ability to view the contents of their designated home directory and download files from it.
- Write permission (Applicable for Windows hosting environments): Select this checkbox if the FTP user requires the ability to create, modify, rename, or delete directories and files within their home directory.
Important Note for Windows Hosting: If no permissions (Read or Write) are granted, the user will be able to establish an FTP connection, but they will not be able to view or interact with the contents of the home directory.
- Once all the necessary information has been entered and permissions configured, click OK to finalize the creation of the FTP account.
Below is an example of the FTP account creation interface:
Modifying an Existing FTP Account
Should you need to adjust the settings of an existing FTP account, such as changing its password, home directory, or permissions, follow these steps:
- Log into your hosting control panel.
- Navigate to the Websites & Domains section, locate the appropriate domain, and then click on FTP.
- From the list of existing FTP accounts, click on the specific account name you wish to modify.
- Make the necessary adjustments to the account properties, then click OK to save your changes.
Removing an FTP Account
If an FTP account is no longer needed, you can easily remove it from your hosting environment. Please note that the primary FTP account associated with your main subscription cannot be deleted.
- Access your hosting control panel by logging in.
- Proceed to the Websites & Domains section, identify the relevant domain, and then click on FTP.
- Locate the FTP account you wish to remove in the displayed list. Select the corresponding checkbox next to its name, and then click the Remove button.
- Confirm your decision by clicking Yes, remove when prompted.
By effectively managing FTP accounts, you maintain granular control over who can access and modify your website's files. This not only enhances security but also streamlines collaboration with developers or content managers. Always ensure that account permissions are set appropriately for each user to prevent unauthorized access or accidental changes.
