


JetBackup is a widely recognized backup application, commonly employed by hosting providers who utilize cPanel for comprehensive website management.
While JetBackup supports local backups, it is generally recommended to store backups in an offsite location, separate from the primary production environment. An S3-compatible object storage solution offers an excellent platform for this purpose, providing secure, scalable, and geographically flexible storage for your critical data.
Connecting JetBackup to your object storage bucket is a straightforward process.
This guide presumes that both cPanel and JetBackup have been successfully installed and configured on your server.
Setup
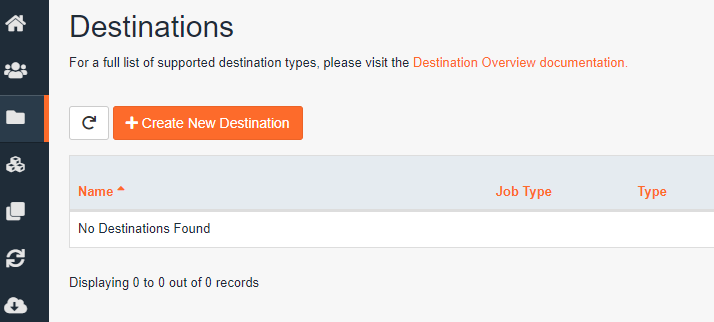
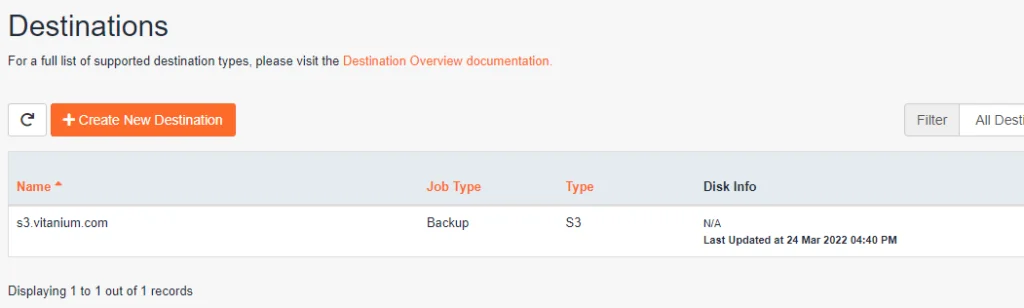
- Begin by logging into your JetBackup interface and navigate to the 'Destinations' option, typically located in the left-hand menu.
- From the Destinations section, select 'Create New Destination'.
- Modify the 'Destination Type' to 'S3 Compatible – Experimental'. This option ensures compatibility with a broad range of object storage providers.
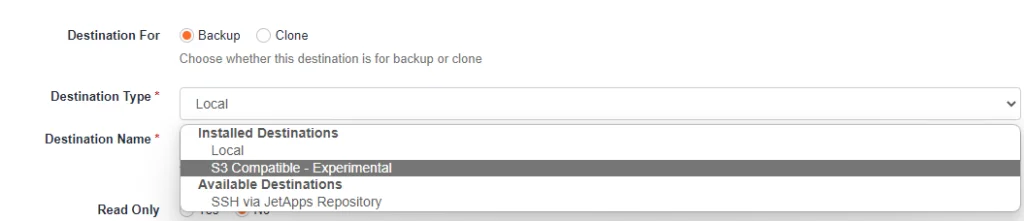
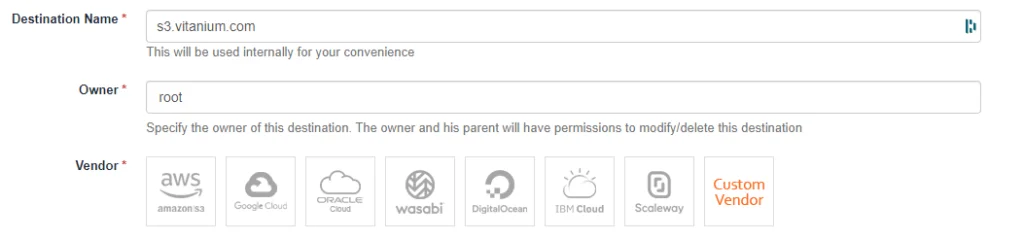
- Proceed to fill in the required fields. Assign a descriptive 'Destination Name' that will help you easily identify this storage target later. Then, select 'Custom Vendor' from the available options.
- Configure the endpoint URL specific to your object storage provider (e.g.,
s3.example.com). Subsequently, input your unique 'Access Key' and 'Secret Key' associated with your object storage account. These credentials grant JetBackup the necessary permissions to interact with your storage.
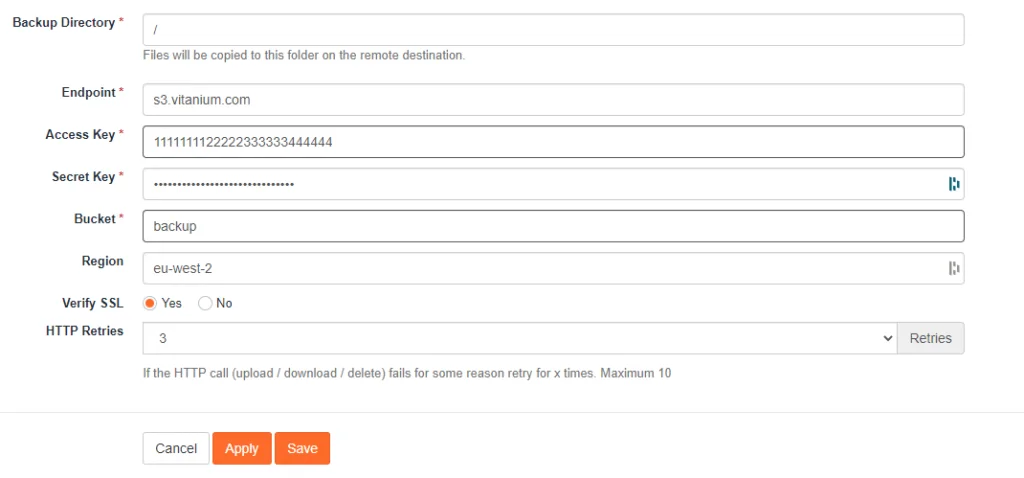
- It is crucial to remember that an object storage bucket must be pre-created before JetBackup can utilize it. Ensure your chosen bucket name (e.g., ‘backup’) is ready.
- You can create a bucket using various S3-compatible client applications or through the management interface provided by your object storage provider.
- Designate the appropriate region for your object storage bucket (e.g.,
eu-west-2). This should match the region where your bucket was created. - Once all details are correctly entered, click 'Save'. The new destination will then be successfully added and visible within your JetBackup Destination list.
- With the new destination configured, you are now ready to create a backup job that will send data to this object storage location.
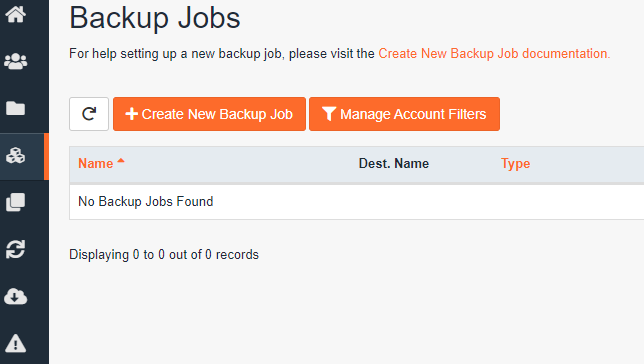
- Navigate to the 'Backup Jobs' section and select 'Create New Backup Job' to initiate the setup wizard.
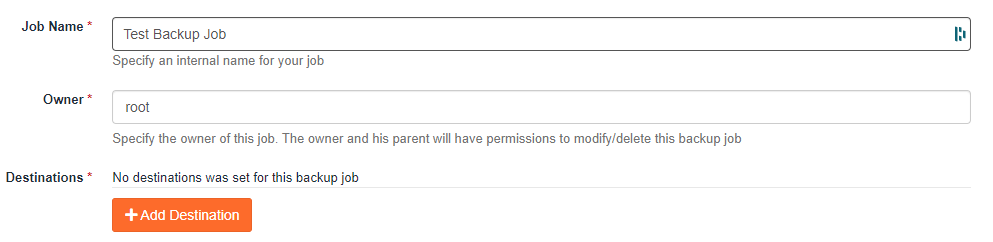
- Within the backup job wizard, assign a clear and meaningful name to your backup job. Then, select 'Add Destination' and choose the object storage destination you previously configured.
- Proceed to define the scope of your backup by selecting the specific data you wish to include. You can also apply filters to exclude certain files or directories and establish your preferred backup schedule (e.g., daily, weekly).
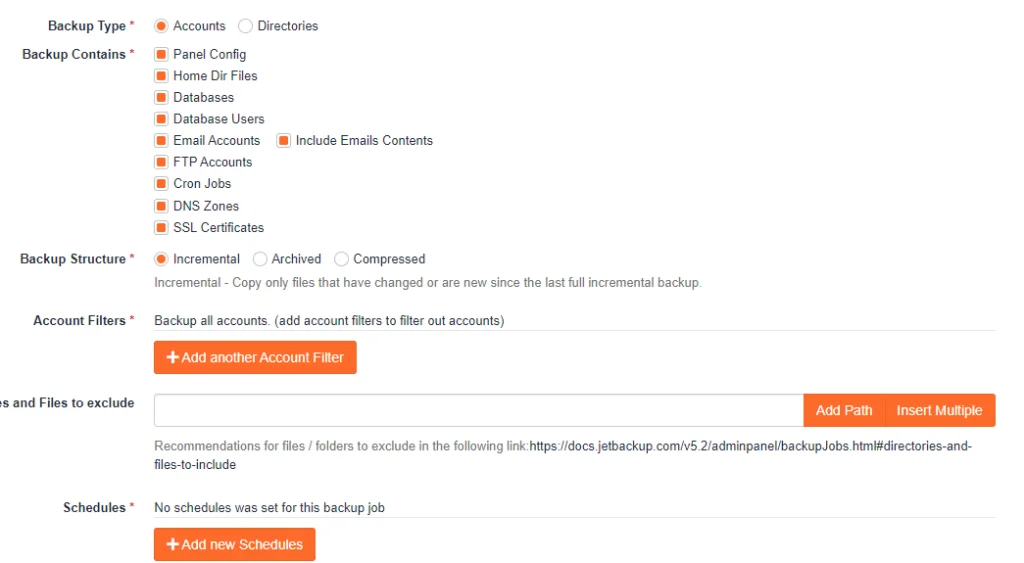
- Finally, click 'Save' to finalize and enable your new backup job.
Once configured, the backup job will execute according to your defined schedule, securely uploading your data to your designated object storage bucket.
To ensure the smooth operation of your backups, it is recommended to monitor the job status directly from the 'Backup Jobs' screen. Additionally, you can set up automated notifications to receive alerts regarding backup completion or any potential issues. This can be configured by navigating to 'Settings' -> 'Notification' -> 'Create New Notification Integration'.
JetBackup offers various notification methods, including SMTP for email alerts, as well as integrations with communication platforms such as Google Hangouts, Slack, and Telegram. System administrators may also opt for SysLog entries for centralized logging and monitoring.
