Are you looking to integrate a contact form into your WordPress website? Implementing a contact form is an exceptionally straightforward and efficient method for your audience to connect with you. Beyond facilitating direct communication, it also provides a valuable opportunity to gather email addresses and generate leads, which are essential for expanding your email marketing efforts.
This comprehensive tutorial will guide you through the process of effortlessly creating a WordPress contact form, enabling seamless interaction between your site and its visitors.
To demonstrate the simplicity of using a leading form builder to create a contact form in WordPress, many solutions offer an interactive setup wizard. This intuitive guide walks you through each necessary step to construct your initial form quickly and effectively.
Step 1: Install Your Chosen Form Builder Plugin
The initial step involves installing and activating a reputable form builder plugin for WordPress. Many solutions are recognized as top-tier WordPress form plugins, offering an ideal method for constructing robust contact forms on your site.
Once activated, most form builders will present a setup wizard. This wizard often guides you through an initial setup or a quick challenge to familiarize you with the process. Upon completion of this guided process, your first contact form will be ready, and you'll be well-prepared to create a dedicated 'Contact Us' page on your WordPress site.
To begin, look for an option like "Start the Setup Wizard" or a similar prompt within the plugin's interface.

Step 2: Choose a Simple Contact Form Template
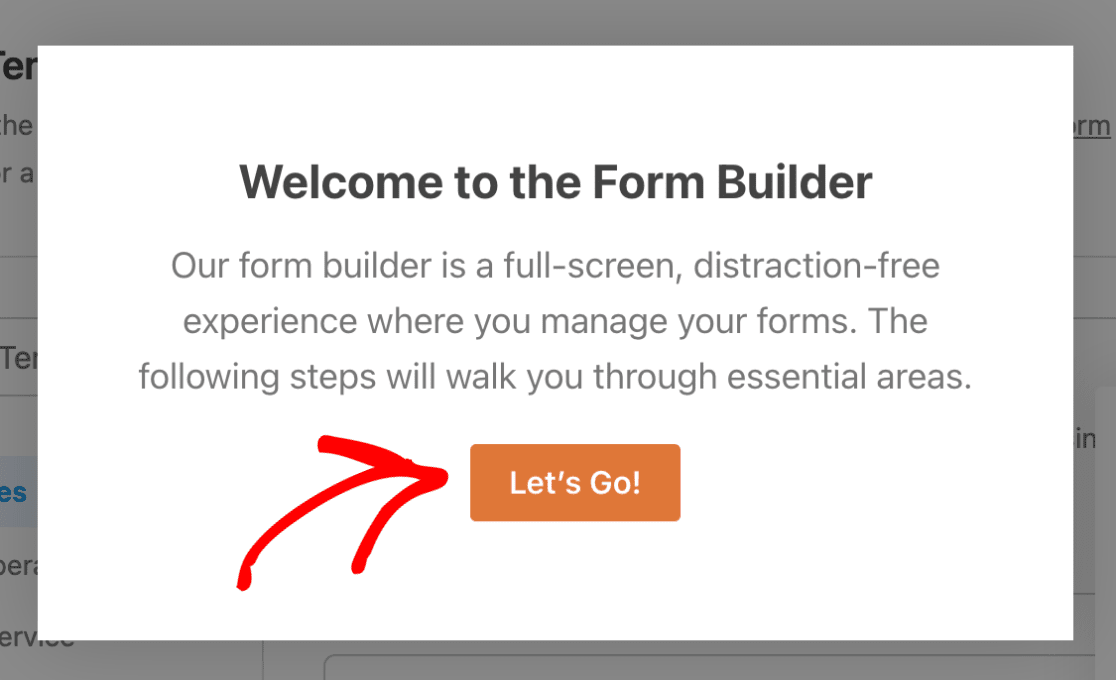
Once you initiate the setup process, you will be directed to the form configuration screen. This interface allows you to assign a name to your new form and select from a vast library of pre-designed templates, which can significantly expedite your form creation. These templates often cover a wide range of categories, including options for customer service, marketing campaigns, various business operations, and even non-profit organizations.
To proceed, simply click a button such as "Let’s Go" or "Create Form."

The initial prompt will typically ask you to name your form. Enter a descriptive title, then confirm to move to the subsequent stage of the setup. Some guided wizards may even display a timer, illustrating just how quickly you can construct a functional form.
Next, it’s time to select a pre-designed template or use the blank template if you prefer to build your form from scratch. For this tutorial, we recommend selecting the "Simple Contact Form" template, as it provides an excellent foundation.
Upon selecting your desired template, the form builder will load a basic contact form structure, ready for your customization. This dedicated builder screen is where you can begin to tailor your contact form by adding new fields, removing unnecessary ones, or modifying the existing field settings to perfectly suit your requirements.
Step 3: Customize Your Contact Form Fields
With the form builder interface now open, you will typically encounter a guiding message or visual cues instructing you on how to proceed. Customizing form fields within WordPress is an exceptionally straightforward process, thanks to intuitive drag-and-drop builders offered by many popular plugins.
To enhance your contact form, you can effortlessly add new fields by simply dragging them from a selection panel, usually located on the left side of the screen, and dropping them into your form preview on the right. Modifying an existing field is as simple as clicking on it to access its individual settings. Furthermore, you have complete flexibility to rearrange the order of fields on your form by dragging them to your desired positions.
While it's generally recommended to keep contact forms concise for optimal user experience, you have the flexibility to incorporate any additional fields that align with your specific needs. This could include, for instance, adding an honorific field for a more personalized touch. Many advanced form builders also offer sophisticated options such as conditional logic, file upload capabilities, integration with payment gateways (like PayPal or Stripe), various checkbox options, and numerous other features designed to expand your form's functionality.
Once you are satisfied with your customizations and the design of your form, click the "Done" or "Save" button to finalize your changes.
Step 4: Configure Contact Form Notification Settings
An essential aspect of setting up your contact form involves configuring its notification settings. Many form builder plugins provide default notification settings that are enabled for every new form you create.
Typically, these default settings ensure that detailed information for each submitted entry is automatically sent to your website's administrative email address. However, you might also want to send an automated confirmation email to the individual who submitted the form.
Most modern form builders make this process quite simple. You can usually configure multiple form notifications, directing them to different team members within your organization, as well as sending a personalized confirmation to your customers immediately after their submission. To maintain a consistent brand image across all your outgoing communications, explore options for adding custom headers or branding elements to your email templates.
Once you have ensured that your form's notification settings are accurately configured to meet your communication needs, proceed by clicking "Done" or "Save Settings."
Step 5: Embed Your Contact Form on a WordPress Page
Having successfully customized your form and configured its notifications, you are now prepared to integrate it into your WordPress website. The embedding process is designed to be highly user-friendly, often eliminating the need for manual shortcode input, making it accessible even for beginners.
To begin embedding, locate and click the "Embed" button, typically found at the top of the form builder interface.
Most form builders will then offer you options such as "Select Existing Page" or "Create New Page." For a fresh start, choosing to create a new page is often the most direct route.
You will then be prompted to provide a title for your new page. A simple and clear title, such as "Contact" or "Contact Us," is usually ideal.
Once named, the form builder will automatically place your newly created form directly onto the designated page. At this stage, you may also find options to further refine the appearance of your form, allowing you to style fields, labels, and submit buttons using intuitive color pickers and style settings, ensuring it seamlessly matches your site's aesthetic.
It is crucial to remember that after placing your form, you must click the "Publish" button for the page to make your contact form live and accessible to your website visitors.
Congratulations! You have successfully created and embedded a simple WordPress contact form. Many form builders also offer the flexibility to embed your contact form in other areas of your site, such as a sidebar widget, providing multiple avenues for your visitors to reach out.
Frequently Asked Questions About Contact Forms
Here are some frequently asked questions to provide more insights into implementing and utilizing contact forms effectively in WordPress.
What is the primary benefit of using a contact form in WordPress?
A contact form on your website offers an effortless, professional, and secure channel for your visitors to submit inquiries, provide feedback, share suggestions, or report issues. Beyond basic communication, incorporating a contact form into your WordPress site offers several distinct advantages:
- Efficient Communication: Contact forms streamline the process, allowing your audience to connect with you quickly and directly, ensuring their messages are received and organized.
- Enhanced Security: By using a contact form instead of directly displaying your email address, you effectively protect yourself from spam. Spammers use automated bots to harvest email addresses from websites, and a form acts as a crucial barrier against this.
- Improved Organization and Automation: Many contact form solutions allow for integration with email marketing services or customer relationship management (CRM) systems. This enables you to automate lead nurturing, organize submissions efficiently, and even connect your form data with external spreadsheets like Google Sheets for seamless data management and backup.
Does WordPress include a built-in contact form feature?
By default, WordPress.org does not come with an integrated contact form feature. To create and manage contact forms on your site, you will need to install a dedicated plugin. Fortunately, many excellent form builder plugins are available, providing a quick and straightforward process to set up even a basic contact form without requiring extensive technical knowledge or a premium license to get started.
Which fields are essential to include in a contact form?
For optimal user experience and conversion rates, a contact form should be kept as simple and concise as possible, focusing only on the most essential fields. Typically, these include: Name, Email Address, and a Message or Comment field. Many form builder plugins offer a "Simple Contact Form" template that pre-configures these fundamental fields, allowing you to deploy a well-optimized and user-friendly form without any manual adjustments.
Is it possible to track and manage contact form submissions?
Absolutely! The vast majority of WordPress form builder plugins incorporate a dedicated dashboard or section within your WordPress admin area. This central hub allows you to conveniently view, track, and efficiently manage all submissions received through your contact forms. Even with free versions of these plugins, you'll generally receive email notifications for every new submission. For more comprehensive data management, including storing all submissions directly within your website's database, an upgrade to a premium version of the plugin is often available.
How can I back up and export contact form data for safekeeping?
Maintaining an external backup of your contact form data is a recommended best practice. One of the most effective ways to achieve this is by integrating your form with a spreadsheet service like Google Sheets. Many premium form builder plugins offer native integrations that automatically connect your WordPress forms to Google Sheets, ensuring that all collected data is immediately added to your chosen spreadsheet. This integration provides the significant advantage of real-time updates for every new submission, offering a continuously current backup.
Alternatively, most form builders also provide an option to manually export your contact form data. However, it's important to note that a manual export will only capture information up to the moment the export is performed. For a continuous and automated backup solution, integrating your form with a cloud-based spreadsheet like Google Sheets is highly recommended.


