


Email spam can be a significant nuisance, cluttering inboxes and posing security risks. Fortunately, Plesk provides robust tools to help manage and filter unwanted messages effectively. This guide will walk you through the process of enabling and configuring spam protection for your email addresses within the Plesk control panel, ensuring a cleaner and more secure email experience.
Enabling Spam Protection in Plesk: A Step-by-Step Guide
To activate spam prevention for your email accounts in Plesk, follow these detailed instructions:
- Log in to your Plesk account. Access your control panel using your credentials.
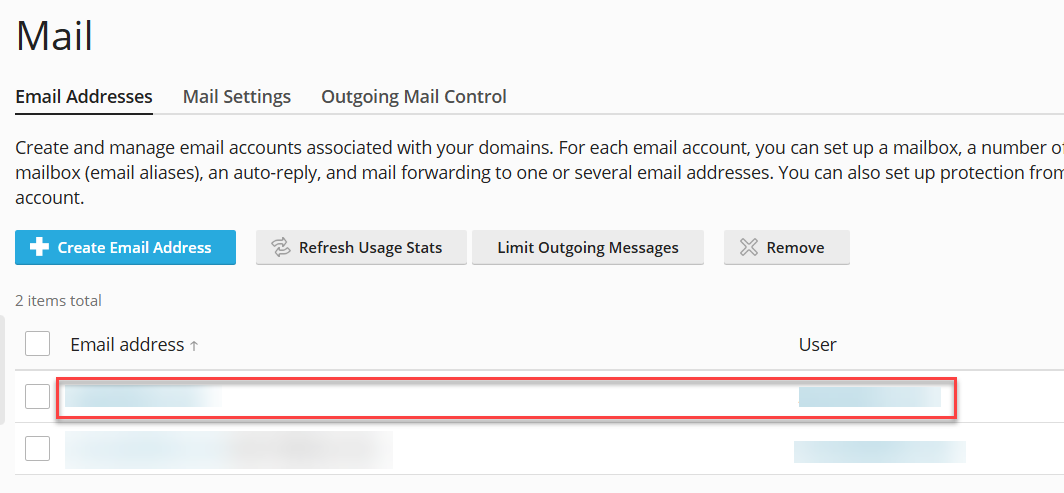
- Navigate to the "Mail" section. From the left-hand sidebar, select the "Mail" option.

- Select the specific email address. Choose the email address for which you wish to enable spam protection from the list.
- Access the "Spam Filter" settings. Once the email address is selected, click on the "Spam Filter" tab or option.
- Activate spam filtering. Check the box labeled "Switch on spam filtering for this email address" to enable the feature.
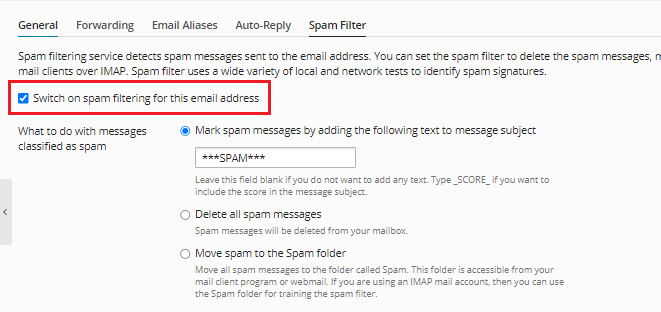
- Choose your preferred spam handling option. In this section, you can define how Plesk should manage detected spam messages.
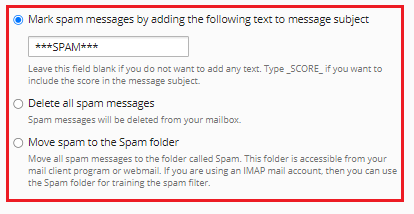
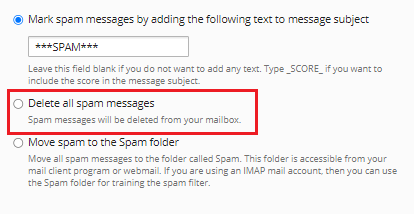
- Mark spam messages by subject line. This option allows Plesk to identify spam by adding a specific phrase or tag to the subject line, making them easy to recognize in your inbox.
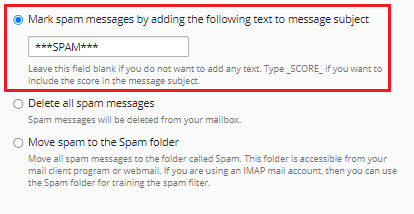
- Automatically delete all spam communications. If you prefer a cleaner inbox, select this option to have all identified spam messages automatically deleted without being delivered.
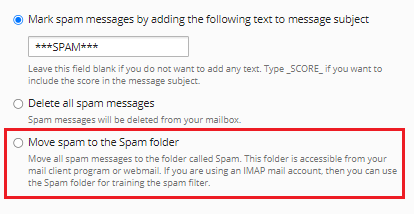
- Move spam emails to a dedicated folder. This common option moves detected spam to a designated "Junk" or "Spam" folder, allowing you to review them before permanent deletion.
Configuring Advanced Spam Filter Settings
For more granular control over your spam protection, expand the "Advanced Settings" menu. Here, you can fine-tune various parameters to optimize your spam filter's performance.
- Adjust spam filter sensitivity. In the "Spam filter sensitivity" field, you can enter a desired numerical value. The default value is typically seven. It's important to note that a smaller value increases the filter's sensitivity, leading to more aggressive spam detection, while a larger number decreases sensitivity.
- Manage the whitelist. The whitelist allows you to specify email accounts or entire domains from which you always want to receive mail. Emails from these addresses or domains will bypass all spam filtering.
- Utilize the blacklist. Conversely, the blacklist enables you to block specific email addresses or websites. Any mail originating from these blacklisted sources will be automatically rejected or marked as spam.
- Define trusted languages and locales. In this section, you can specify particular languages and geographical locations. Emails primarily written in these trusted languages or originating from these locales will always pass through the filter, reducing the chance of legitimate emails being flagged.
- Allow specific IP addresses. If you need to ensure that emails from certain IP addresses are always delivered, you can enter them into the IP addresses textbox. This is useful for trusted senders or services.
Once all your preferred settings have been configured, click "OK" to save your changes. A confirmation message will appear, indicating that spam protection has been successfully enabled and configured for your selected email address.
Implementing these spam protection measures in Plesk significantly enhances your email security and helps maintain a clean, organized inbox. Should you encounter any difficulties during this process or require further assistance, please do not hesitate to contact your hosting provider's support team for expert guidance.
