


To begin utilizing the Odoo platform for your business operations, the first step is to establish your database. This process commences after acquiring an authorized subscription. If you don't already have an Odoo account, you can easily create one through the dedicated window, as illustrated in the screenshot below.
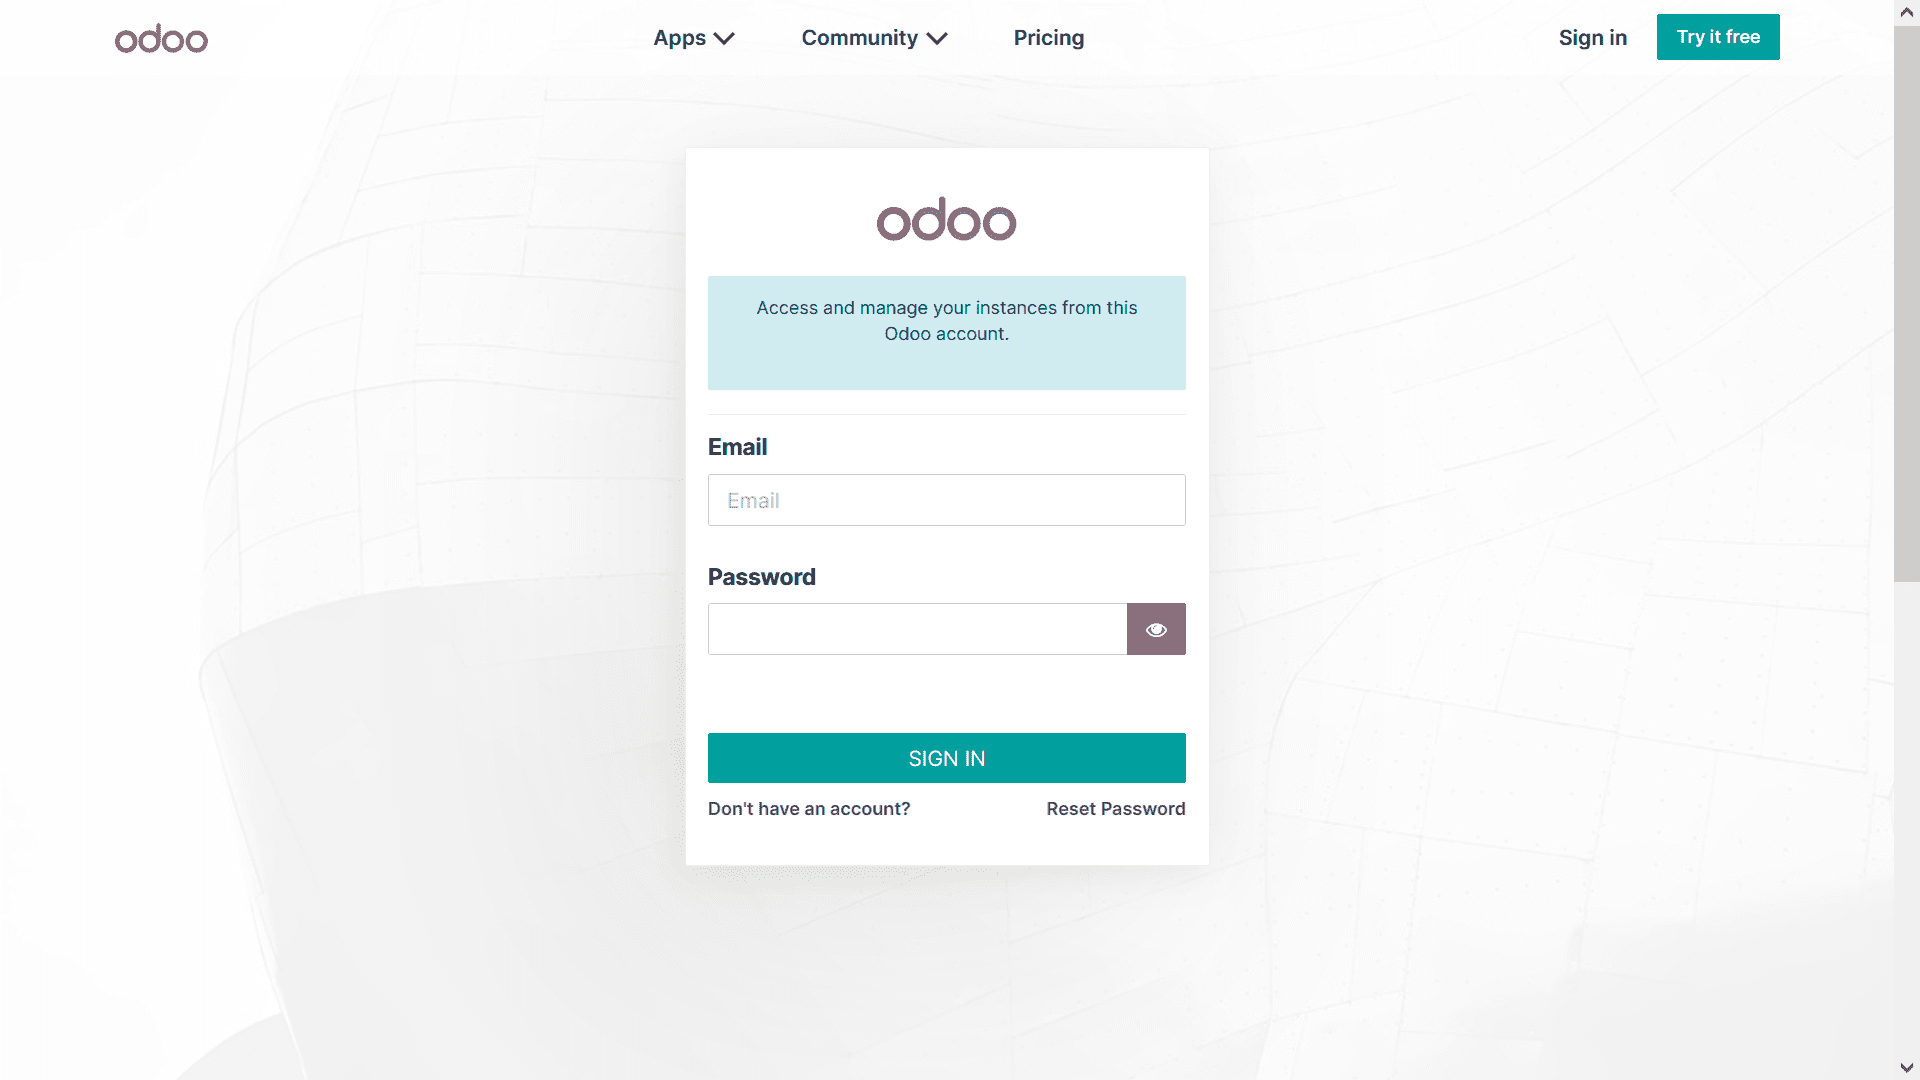
Setting Up Your Odoo Database
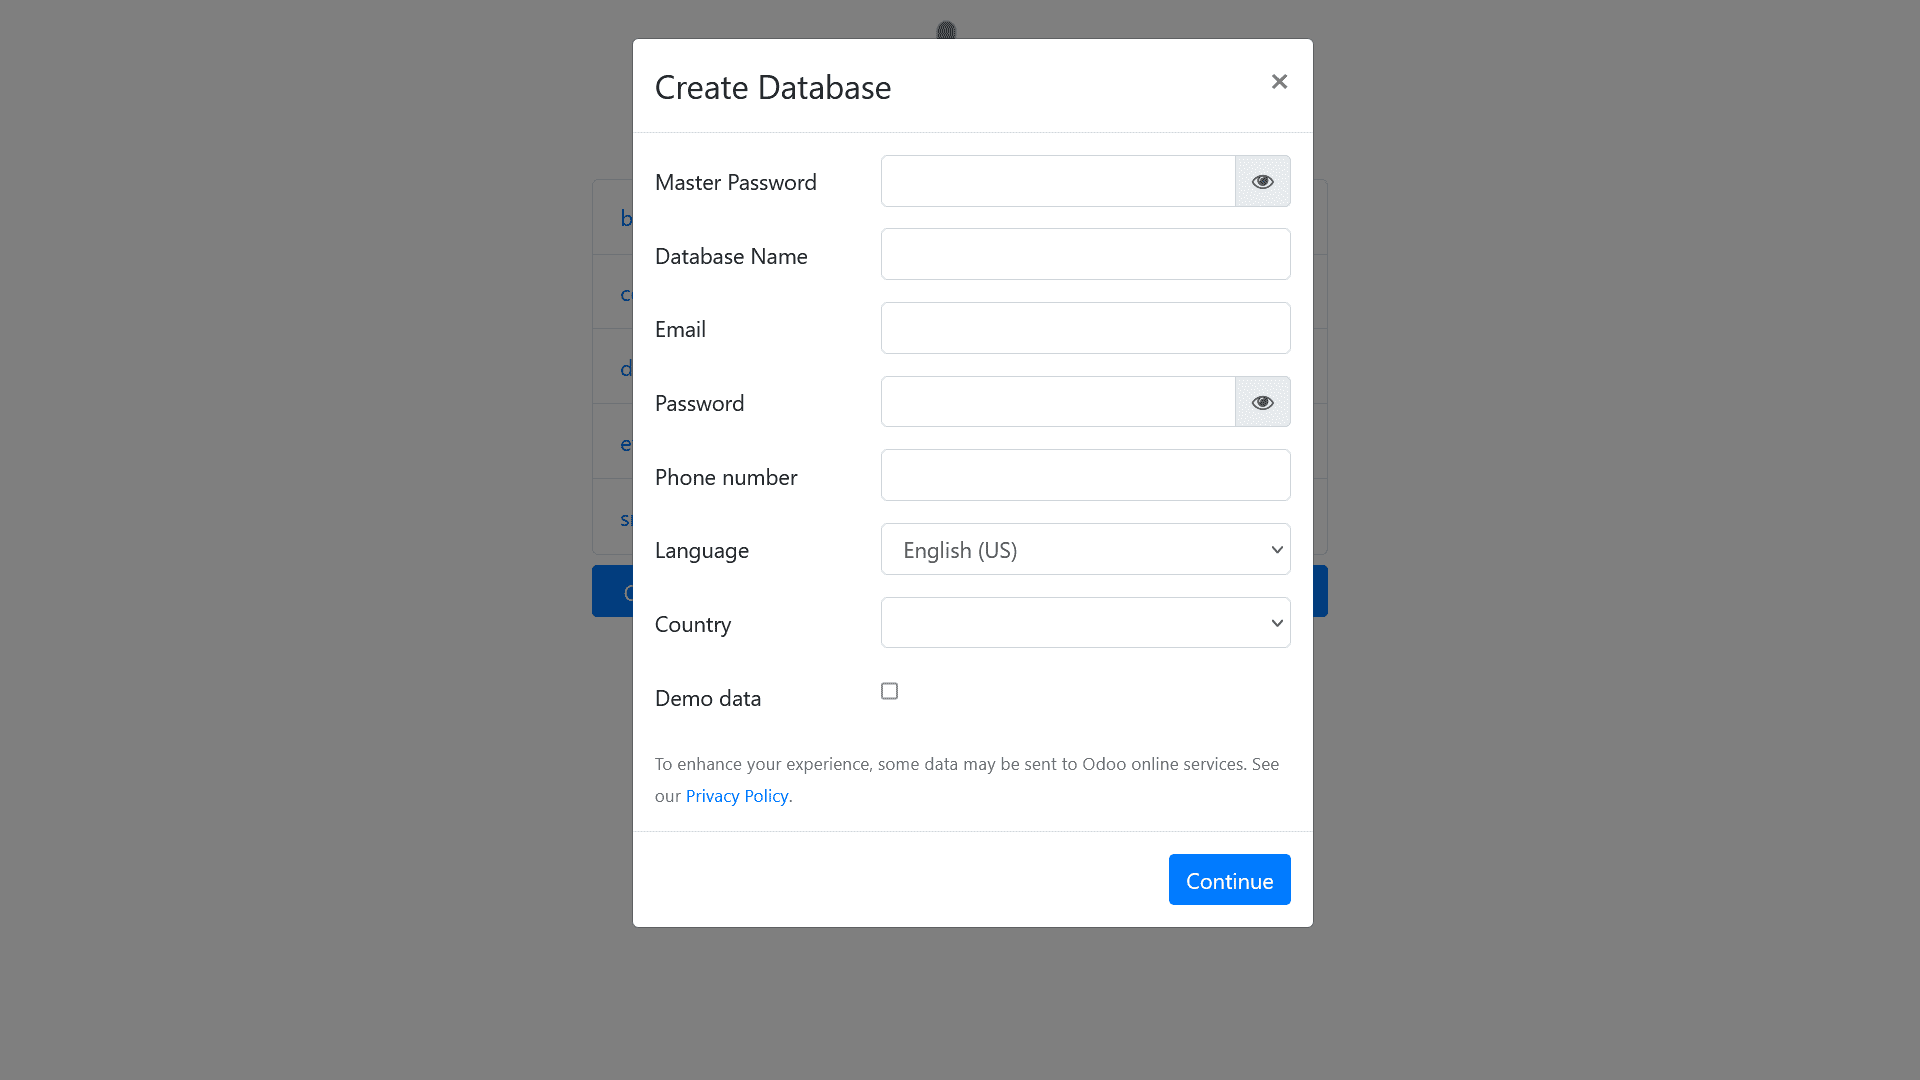
Following the successful creation of your account, the subsequent crucial step involves establishing your operational database. Navigate to the 'Create Database' option, which becomes accessible once your Odoo account is active. Within this creation window, as shown below, you will need to input several key details:
- Master Password: A crucial security credential for managing your database.
- Database Name: A unique identifier for your specific database instance.
- Email Address: Associated with the primary user of the database.
- Password: For the main user account within this database.
- Phone Number: For contact and verification purposes.
- Language: Determines the default language for the user interface.
- Country: This selection is vital as it configures the Odoo platform's database based on country-specific localization features, which will be further elaborated upon.
The database configuration is significantly influenced by the chosen country, ensuring compliance and tailored functionalities through Odoo's robust localization capabilities.
Understanding Demo Data
An important configuration option within the database creation menu is the ability to include "Demo Data." This sample data, pre-populated by Odoo, serves as an invaluable tool for users to explore and understand various aspects of operational management without affecting live business data. It provides a practical environment to familiarize yourself with the platform's features and workflows. Users have the flexibility to remove or modify this demo data according to their specific learning or testing requirements.
Accessing Your Odoo Dashboard and Initial Setup Considerations
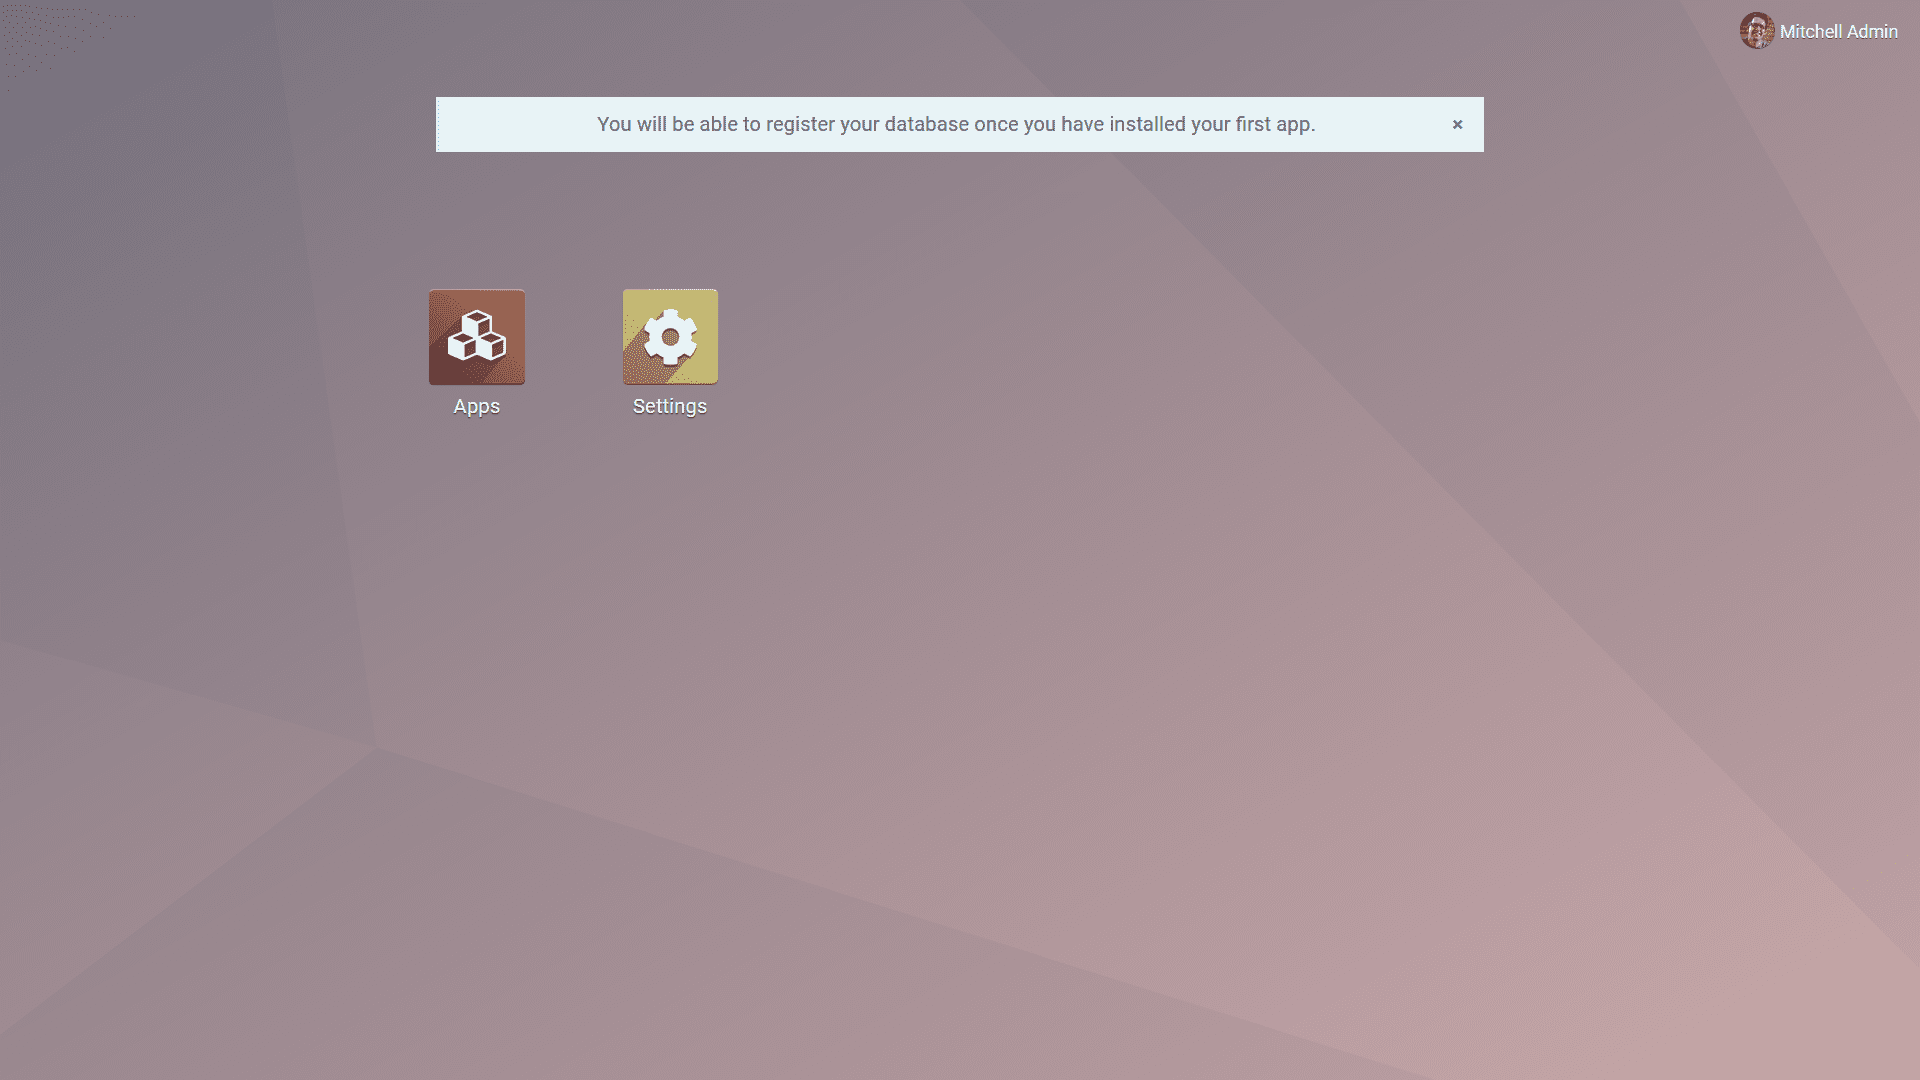
Upon completing the database configuration, select the 'Continue' option to proceed to your newly created database's dashboard. It is essential to remember that the database's setup is heavily influenced by the country you selected, which impacts the automatic installation of relevant localization-specific modules and functionalities. For instance, tax regulations, accounting standards, and other regional business practices will be pre-configured to align with the chosen country's requirements.
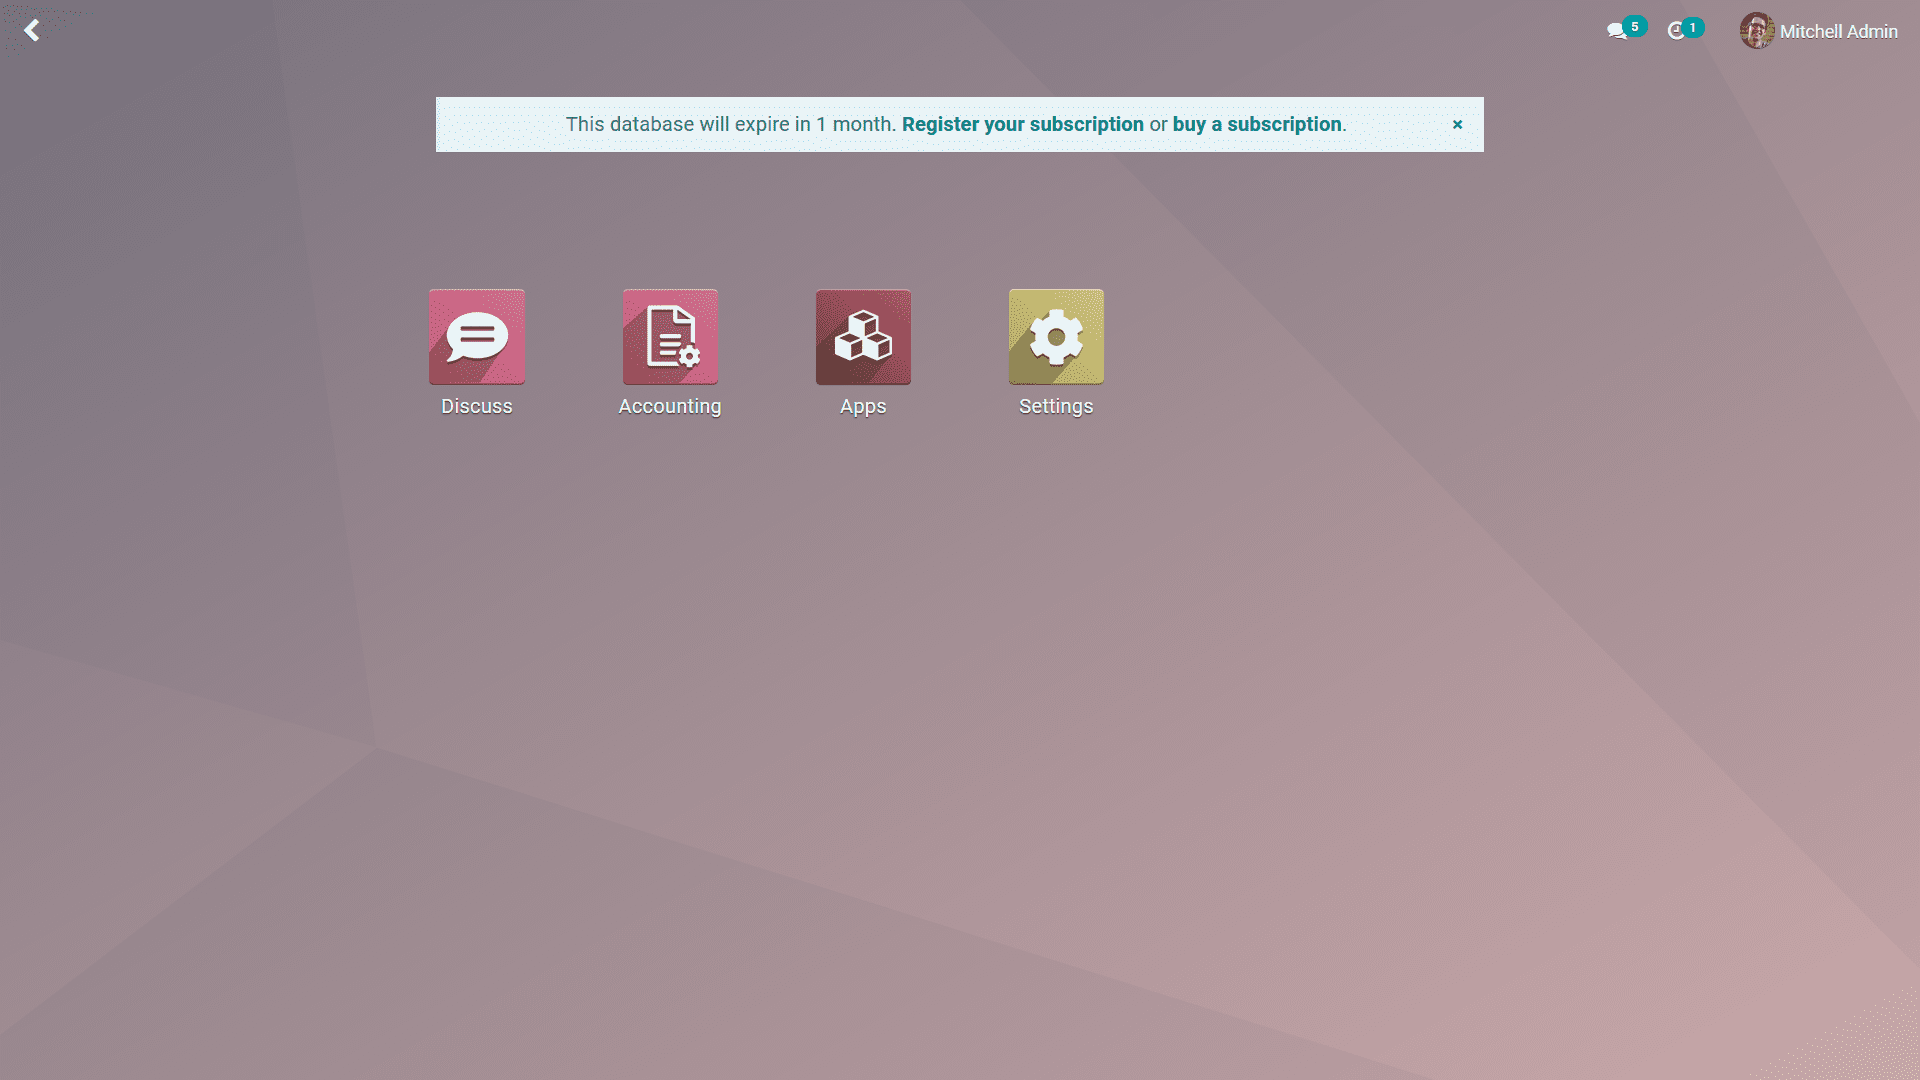
A critical consideration for businesses intending to use the Odoo platform for live operational management is the "Demo Data" option. For a production environment, it is strongly advised not to enable Demo Data. A clean database without demo data will initially present a dashboard showing only the 'Applications' module and 'Settings,' providing a streamlined starting point for customizing your system, as illustrated in the accompanying image.
Exploring Available Applications and Modules
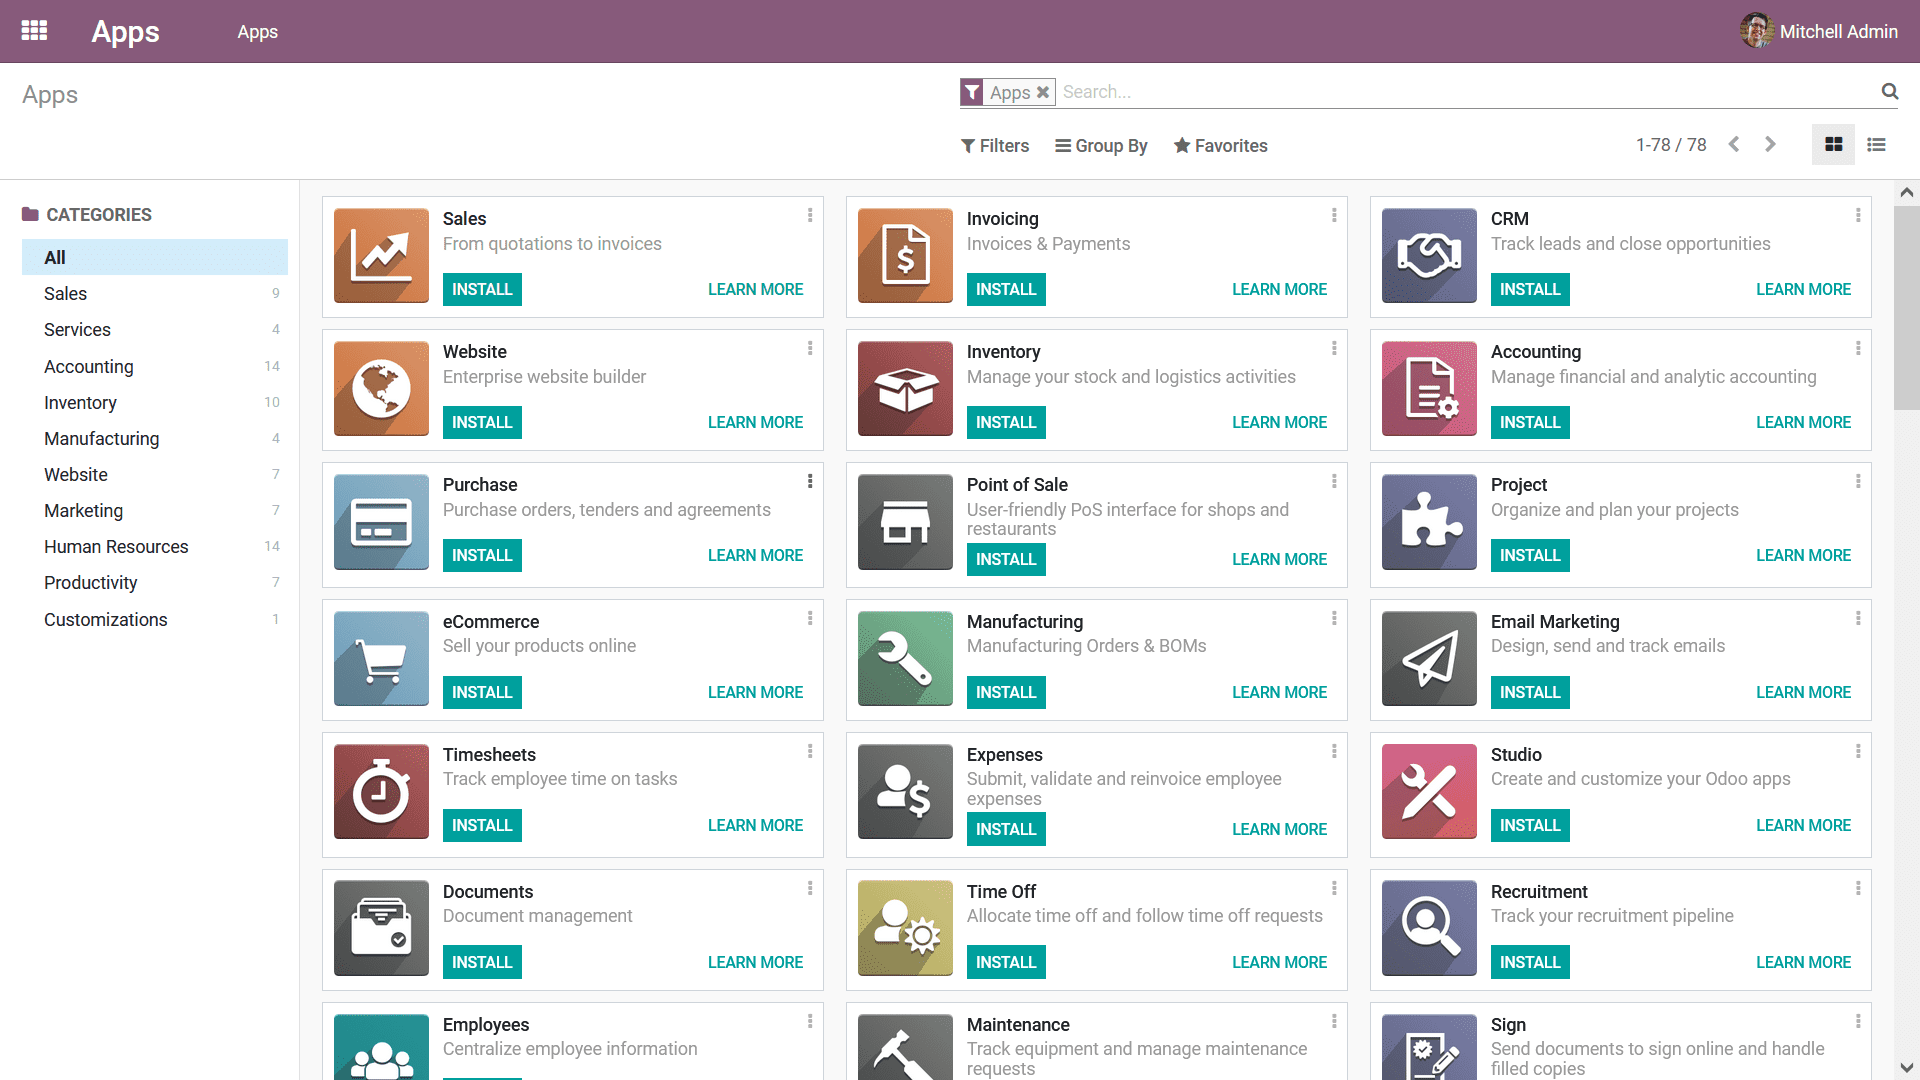
Clicking on the 'Applications' module will reveal a comprehensive catalog of apps available within the Odoo platform. These applications are designed to cater to various business needs and can be installed as required to extend the functionality of your Odoo instance. The following image provides a glimpse into the Apps module interface, showcasing the wide array of options at your disposal.
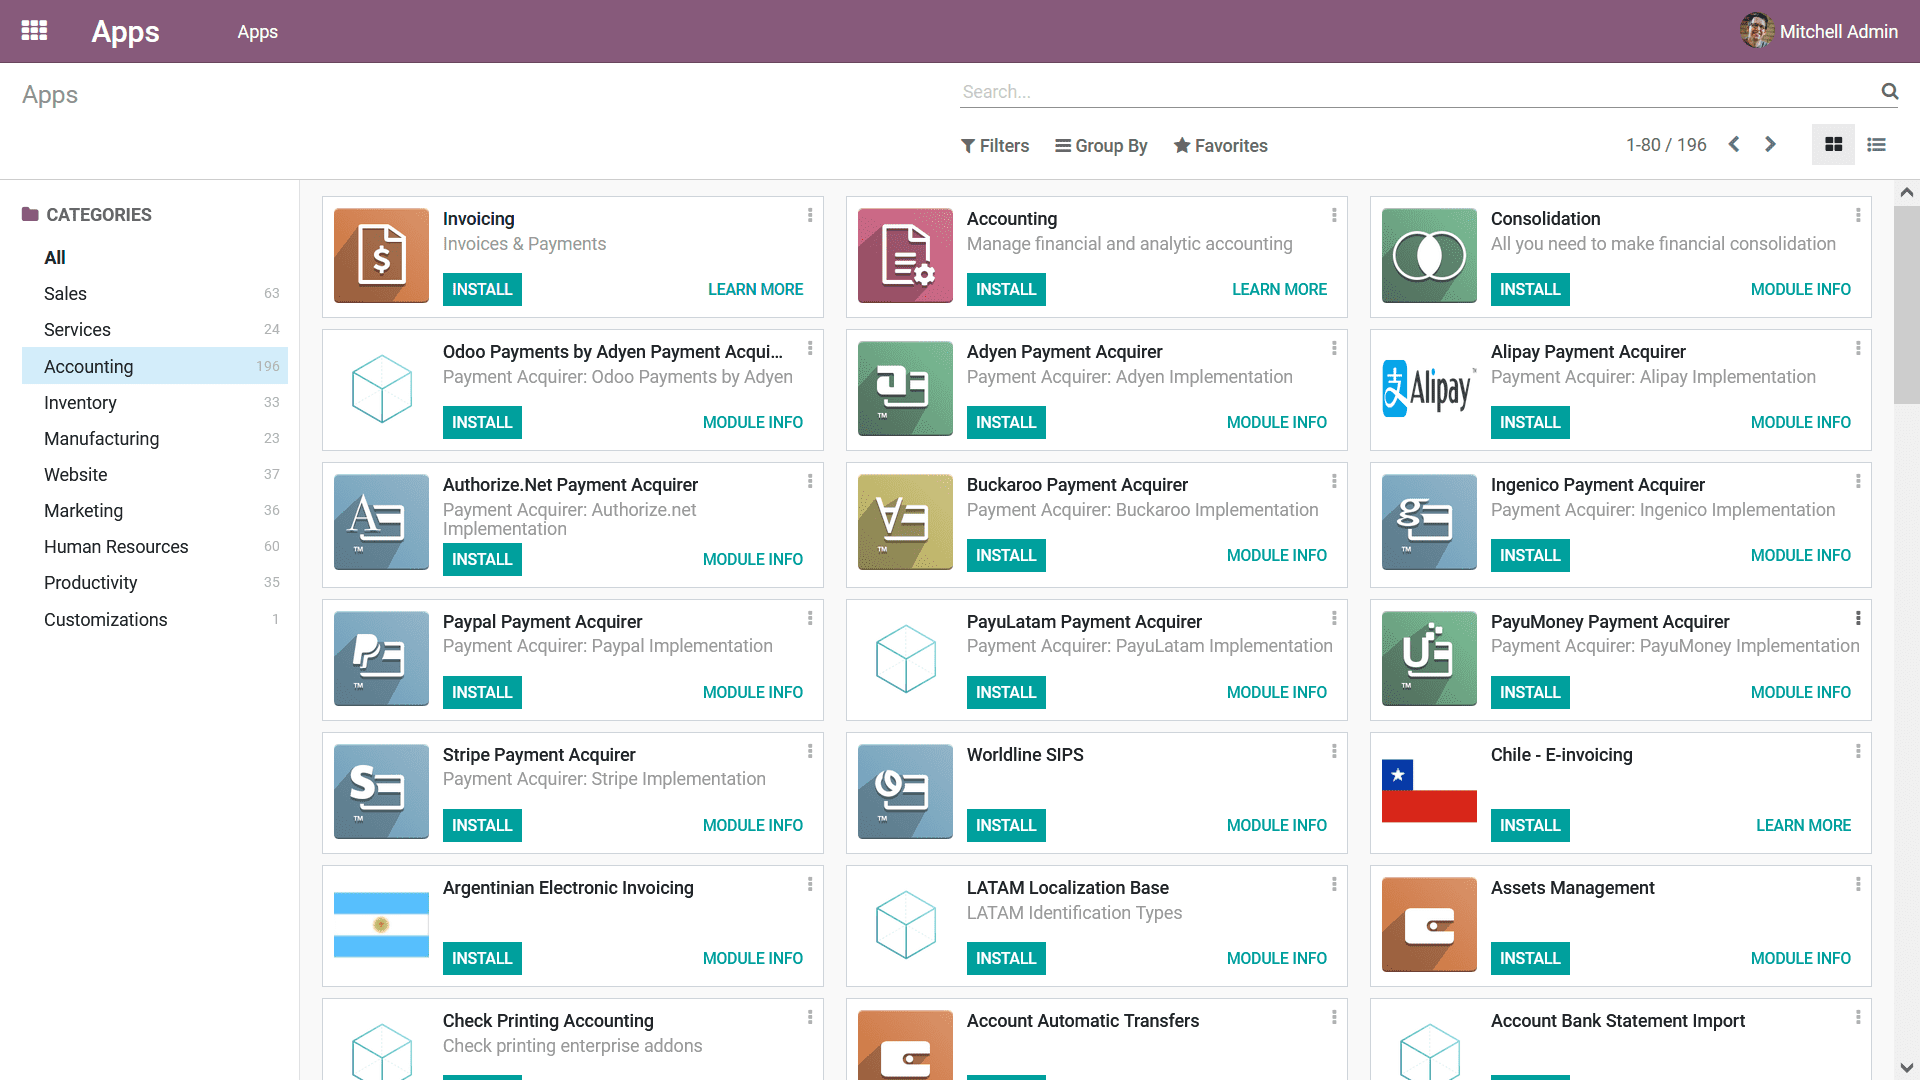
Focusing on Accounting Modules
Given our focus on financial management, let's specifically examine the applications categorized under 'Accounting' within the Odoo platform. As depicted in the image below, this category offers a robust suite of modules essential for comprehensive financial operations. These include, but are not limited to, Invoicing, Accounting, Consolidation, various Payment Acquirers, and country-specific localization features. Users can select and install these modules based on their unique business requirements and financial processes.
Managing Installed Applications from the Dashboard
Upon successful installation, each application will appear as a distinct icon on your database dashboard, as clearly illustrated in the image below. This centralized view allows for easy navigation. To access any specific module, simply select its corresponding icon, which will direct you to the dedicated home dashboard for that particular Odoo module. This streamlined access ensures efficient management and utilization of your installed applications.
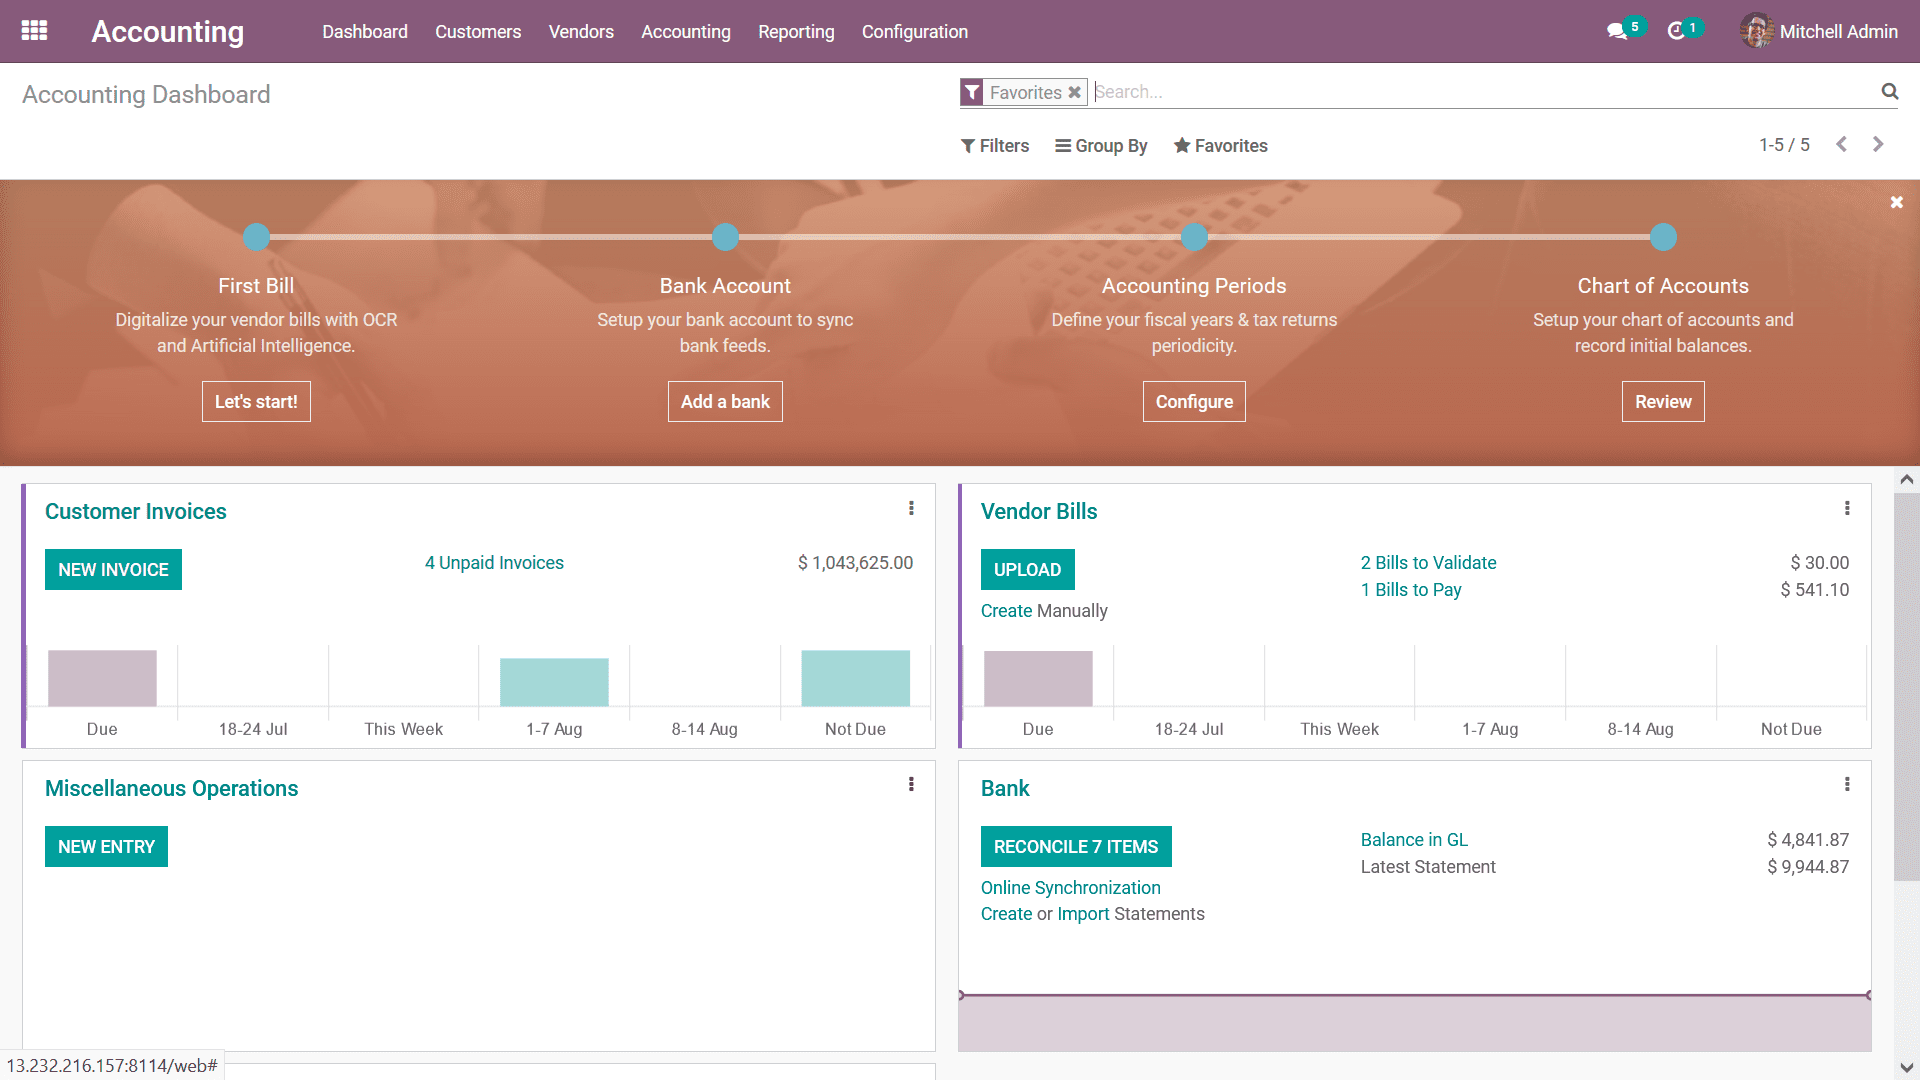
Interpreting Modules with and Without Demo Data
If you opted to enable the Demo Data option during the initial database configuration, your newly installed modules will be populated with predefined sample data, as evident in the dashboard screenshot below. This feature is particularly useful for training and testing purposes, allowing users to interact with a functional system immediately.
It is also important to note a key aspect of Odoo's modular design: when you install a primary module, any functionally connected supporting modules required for its full operation are often auto-installed simultaneously. This ensures seamless integration and prevents operational discrepancies, as modules frequently rely on core functionalities provided by others within the Odoo ecosystem.
The methodologies outlined above provide a clear path for configuring your Odoo database, enabling you to tailor it precisely to your operational requirements. Understanding these steps from account creation to module installation is fundamental for establishing a robust and functional Odoo environment for your business.
