


Installing WordPress with WP Toolkit
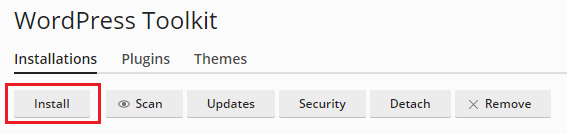
To initiate a new WordPress installation, navigate to the WordPress section and click the Install button.
You have two primary options for installation:
- Install the most recent version of WordPress using the default settings by simply clicking Install.
- Customize the installation settings, such as selecting a specific WordPress version, defining the database name, configuring autoupdate preferences, and more, before proceeding to click Install.
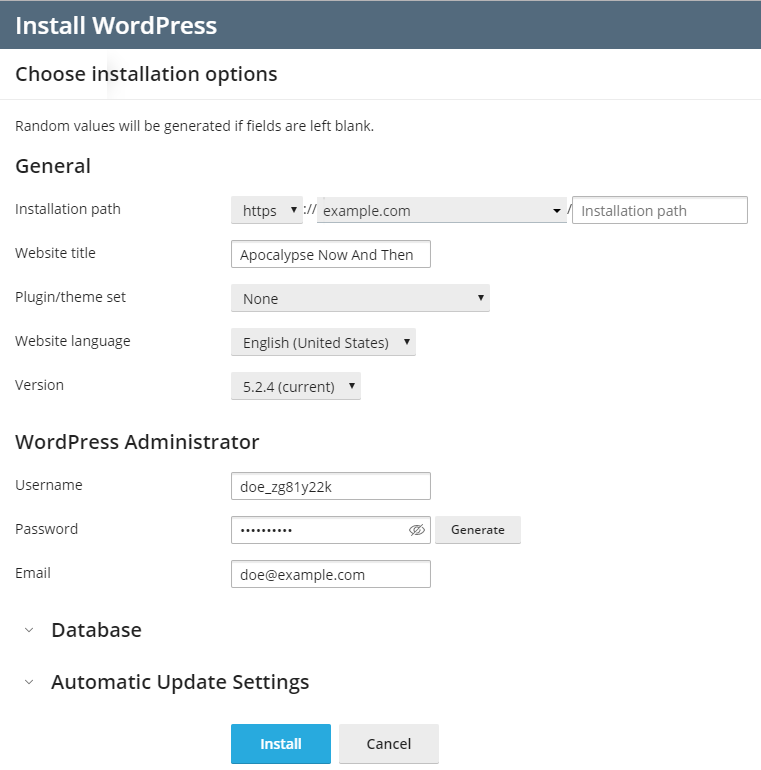
Note: The WP Toolkit sources necessary data for WordPress installations directly from wordpress.org. By default, if the WP Toolkit is unable to establish a connection within 15 seconds, wordpress.org will be deemed unavailable, and the installation process may not proceed.
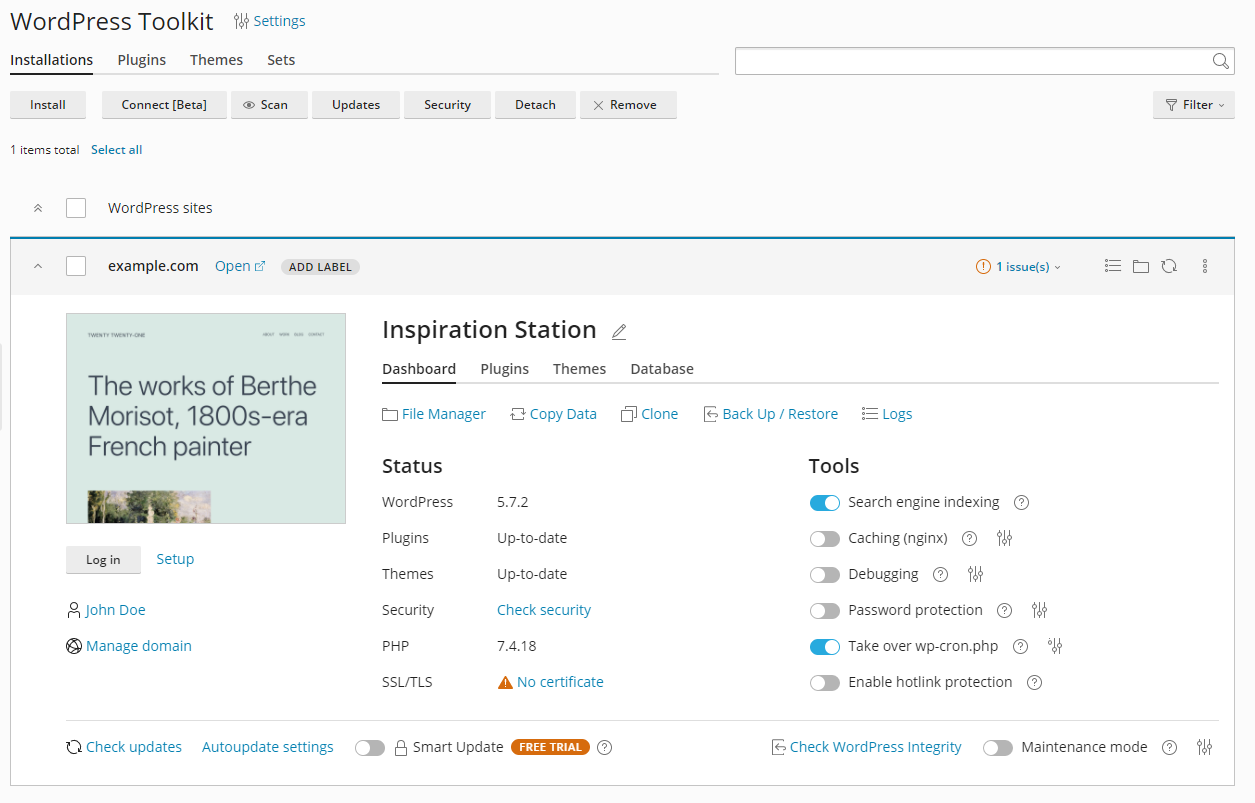
Once completed, the newly installed WordPress instance will be prominently displayed within the list of all existing WordPress installations under the WordPress interface.
Adding Existing WordPress Installations to WP Toolkit
While WordPress installations performed using the WP Toolkit or via the Applications page are automatically recognized, those installed manually require explicit attachment to the WP Toolkit. If you have recently upgraded your Plesk version and have pre-existing WordPress installations, it is highly recommended to attach all these instances to the WP Toolkit for comprehensive management.
To seamlessly integrate your existing WordPress installations with WP Toolkit, follow these steps:
- Navigate to the WordPress section.
- Click the Scan button.
After the scan is complete, the WordPress installation will be successfully attached and will appear in the comprehensive list of existing WordPress installations within the WordPress interface.
Importing WordPress Installations
The "Web Site Migration" feature offers a convenient way to transfer WordPress websites that you own but are currently hosted on external servers to your Plesk environment. During this migration process, Plesk diligently copies all associated website files and its complete database to your server. Once a website has been successfully migrated, you gain full control and can efficiently manage it directly through the WP Toolkit.
To initiate the migration of an existing WordPress website, navigate to Websites & Domains > WordPress, then click on the Import button. For detailed guidance, please refer to the instructions in the Migration Guide.
