


This comprehensive guide will walk you through the straightforward process of installing WordPress, the world's most popular content management system, on your hosting account. Utilizing a powerful one-click application installer, you can have your WordPress site up and running in just a few simple steps, streamlining what could otherwise be a complex setup.
Login to Your Control Panel
To begin, navigate to the login page of your hosting control panel (such as cPanel or DirectAdmin) and enter your credentials. Once logged in, locate the icon for the application installer – it is often clearly labeled. Click this icon to access the installer's interface, which provides a gateway to numerous web applications.
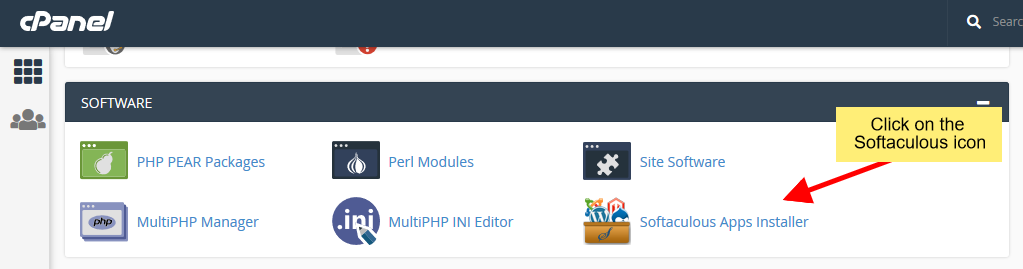 Accessing the application installer from your control panel.
Locate and Select WordPress
Upon entering the application installer's dashboard, you will find a wide array of scripts and applications available for installation. To proceed, use the search bar or browse through the categories to find WordPress. Once located, select WordPress to navigate to its dedicated installation page. This page typically provides a brief overview of the application.
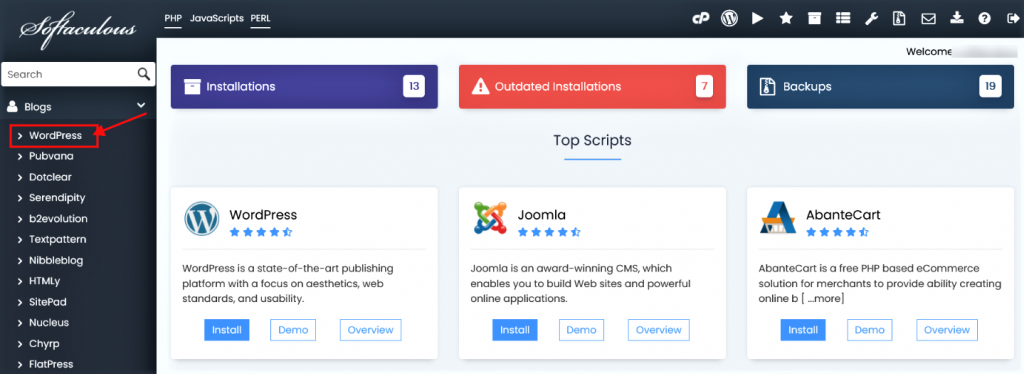 Locate WordPress within the application installer.
On the WordPress installation page, you will see an "Install" button. Clicking this button will initiate the installation wizard, presenting you with a form to configure your new WordPress instance. This form allows you to customize various settings before the actual installation begins.
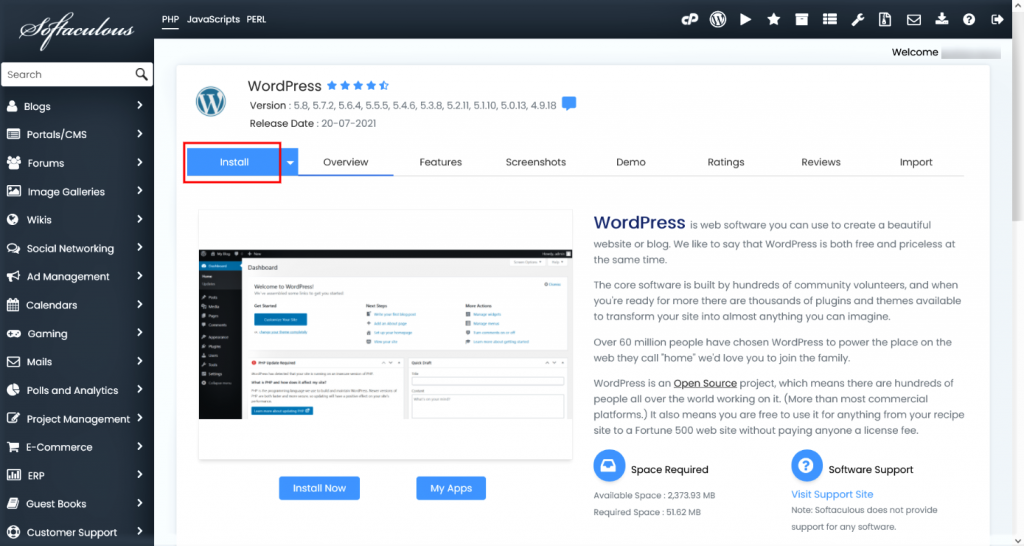 Initiate the installation by clicking the 'Install' button.
Complete the Installation Form
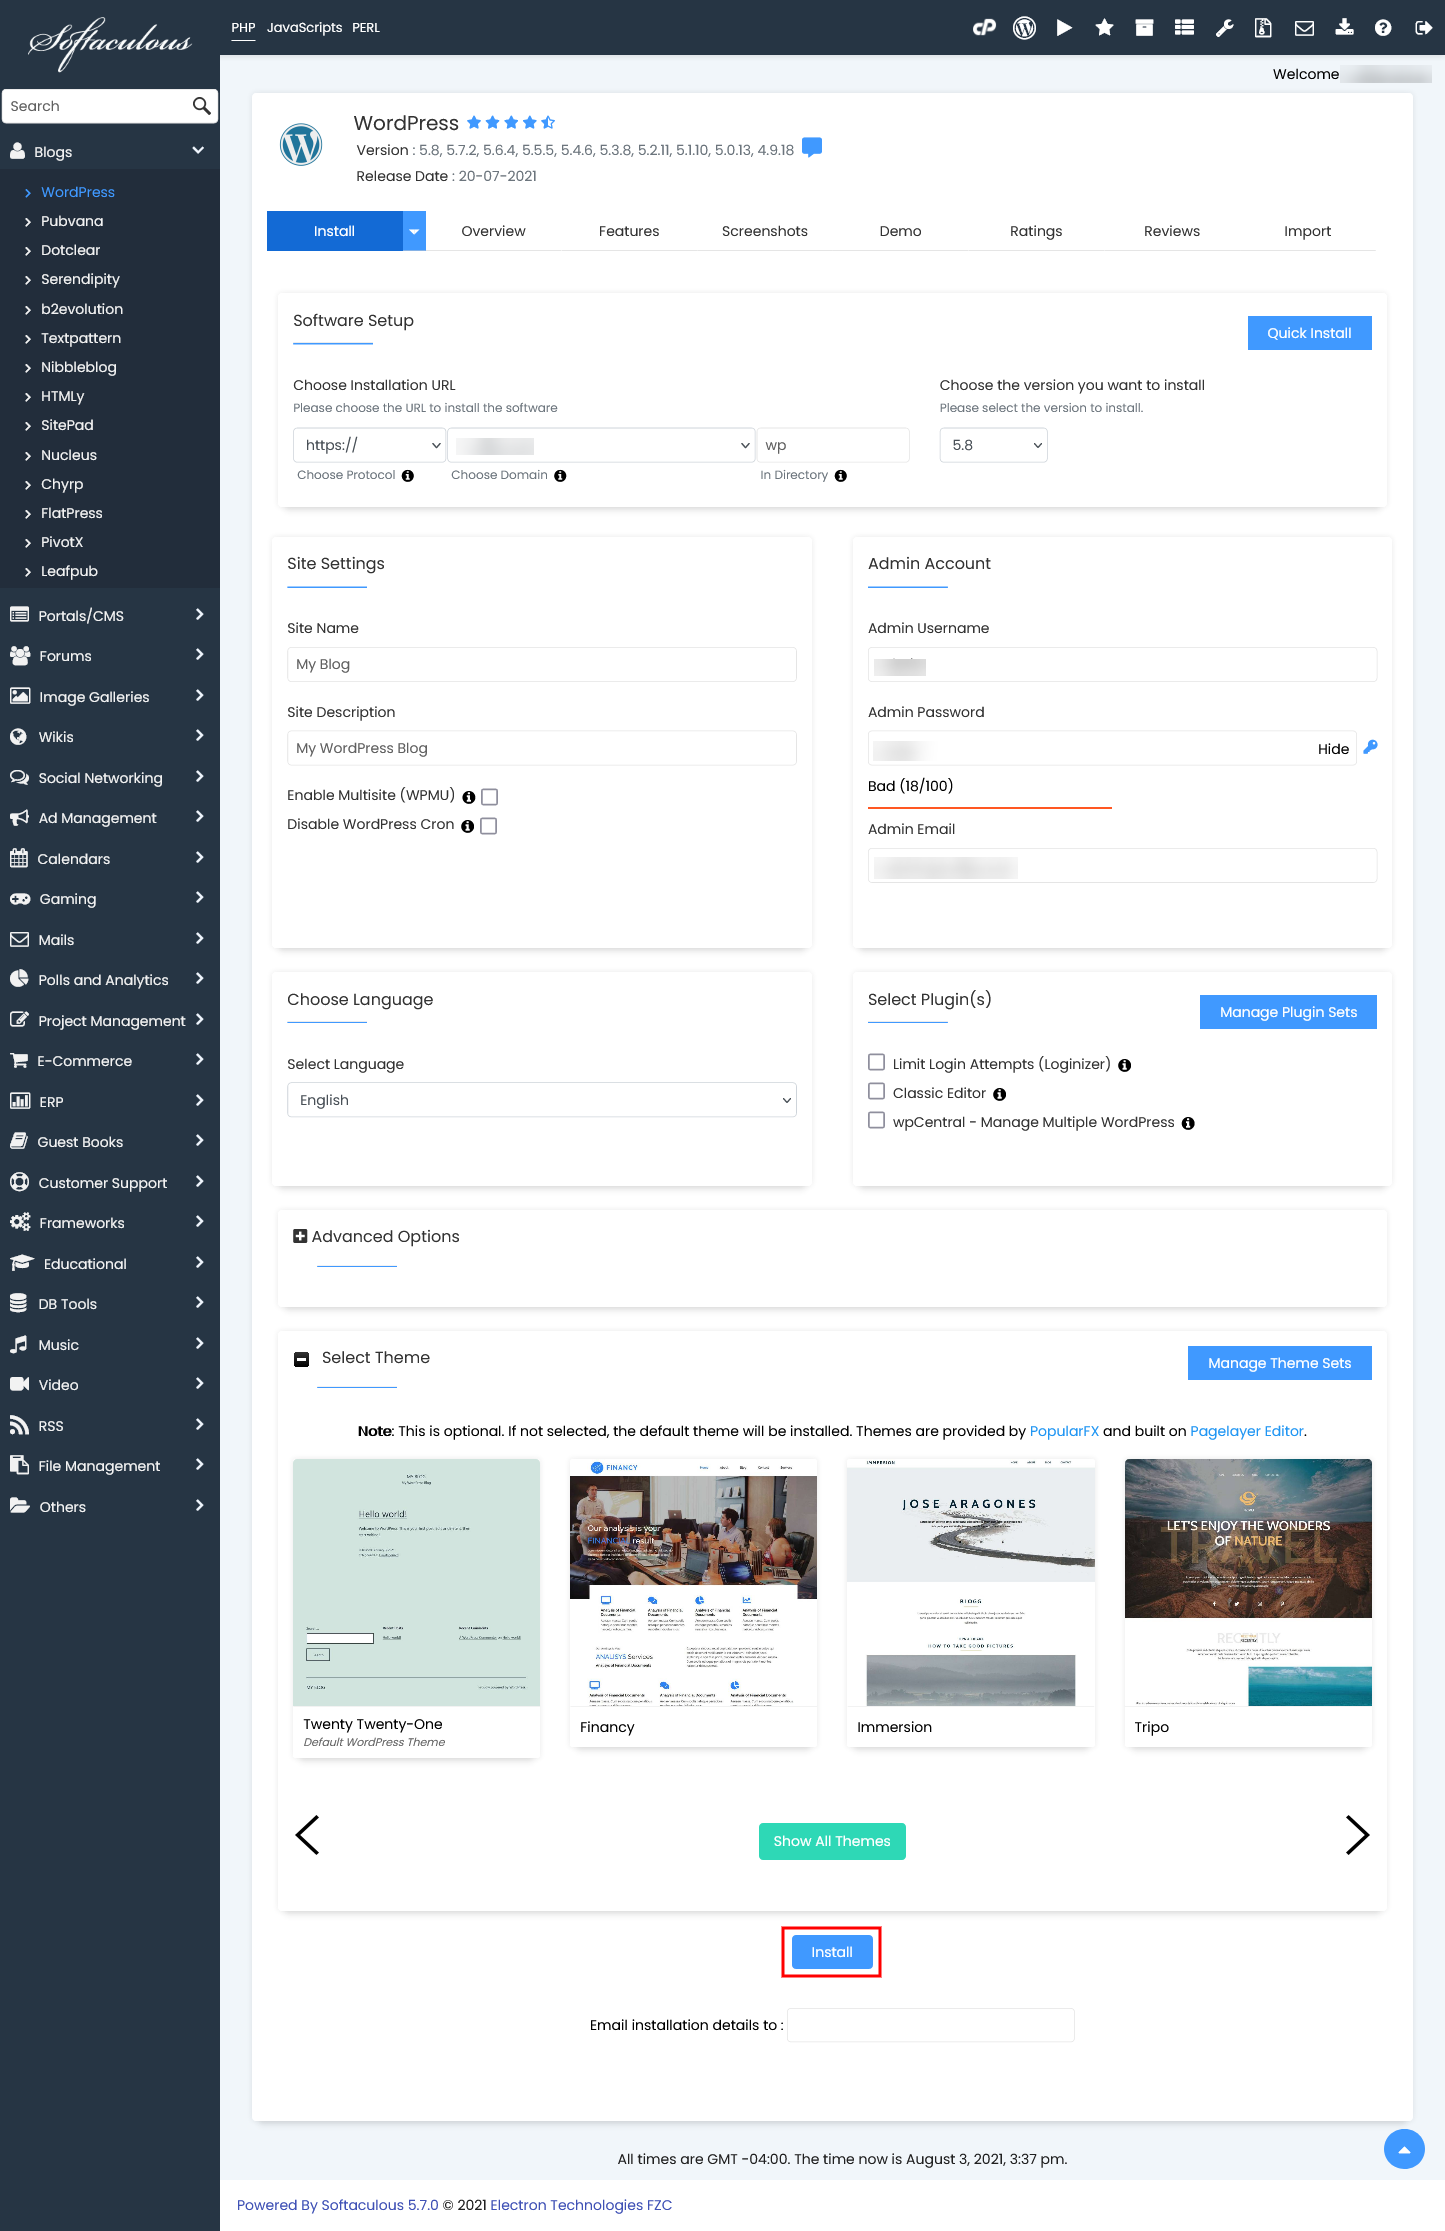
The installation form is where you define the specific parameters for your WordPress site. While many fields come pre-filled with default values, it's crucial to review and adjust them according to your preferences. Here are the key details you'll need to provide:
- Choose Installation URL: This section allows you to specify where WordPress will be installed. You'll select the domain and, if desired, a specific directory. For instance, if you wish for WordPress to be accessible directly at your main domain (e.g., yourwebsite.com) rather than a subdirectory (e.g., yourwebsite.com/blog), ensure the 'In Directory' field is left blank.
- Admin Username: Create a unique username for your WordPress administrator account. This will be used to log into your WordPress dashboard.
- Admin Password: Set a strong, secure password for your administrator account. A robust password is vital for the security of your website.
- Admin Email: Provide an email address for the administrator. This email will receive important notifications and password reset requests.
- Select Language: Choose the preferred language for your WordPress installation.
 Carefully fill in the installation details for your WordPress site.
Once all the necessary fields are completed, click the "Install" button to begin the automated installation process. The application installer will then manage the entire setup for you, typically completing within a few moments.
Installation Confirmation
Upon successful completion of the installation, a confirmation message will appear, indicating that WordPress has been successfully deployed. This message typically includes links to your new WordPress website and its administrative dashboard.
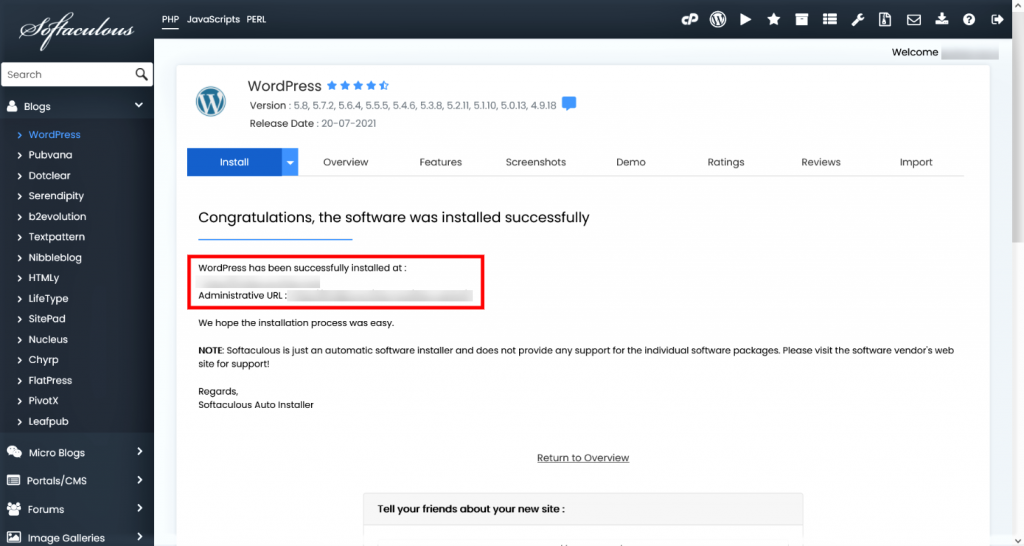 Successful WordPress installation confirmation.
You can now access your newly installed WordPress site and log into its powerful admin panel to begin customizing your theme, adding content, and configuring plugins. This seamless process highlights the efficiency of using an automated application installer for setting up your online presence.
Beyond initial setup, these installers often offer a suite of management tools. These capabilities can include straightforward options for updating your WordPress core, themes, and plugins, as well as creating backups, restoring your site from previous versions, cloning your installation for development purposes, and setting up staging environments for testing changes before they go live. These features provide a comprehensive solution for maintaining your WordPress website throughout its lifecycle.
