


When collaborating on website projects or managing multiple subdomains for various users, it often becomes necessary to establish distinct FTP accounts. This approach significantly enhances security, control, and organization by granting specific access levels to different individuals or services, ensuring that each user can access only the required areas of your website.
Creating an Additional FTP Account
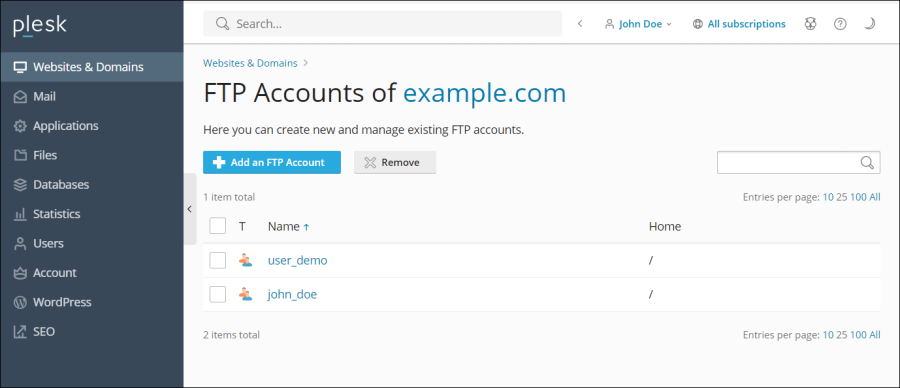
Follow these steps to set up a new FTP account, allowing other users or services secure access to specific directories on your server.
- Navigate to the Websites & Domains section, select your specific domain, and then click on the FTP option.
- Click the Add an FTP Account button to initiate the setup process.
- Provide the following essential details for the new account:
- FTP account name: Choose a unique and descriptive name for the account. This name will be used as the username for logging into the FTP server.
- Home directory: Specify the particular directory where the user will land upon connecting to the FTP account. This setting is crucial for security, as it restricts the user's access to only the designated folder and its subdirectories.
- FTP password: Create a strong and secure password for the FTP account. Ensure it meets complexity requirements to prevent unauthorized access.
- Hard disk quota (on Windows hosting): To manage server resources effectively, you can limit the amount of disk space this FTP user can occupy. Clear the Unlimited checkbox and enter the desired disk space in megabytes. This helps in preventing a single user from consuming excessive storage.
- Read permission (on Windows hosting): Enable this checkbox if you wish to grant the FTP user the ability to view the contents of their home directory and download files from it. This is suitable for users who only need to retrieve information.
- Write permission (on Windows hosting): Select this checkbox to allow the FTP user to perform actions such as creating, modifying, renaming, and deleting directories and files within their designated home directory. Grant this permission cautiously, only to trusted users who require full management capabilities.
It's important to note that on Windows hosting, if no read or write permissions are explicitly granted, a connection to the FTP account will still be established, but the user will not be able to view or interact with the contents of the home directory. Therefore, carefully consider the permissions required for each user.
- Once all details are accurately entered, click OK to finalize the creation of the FTP account.
Modifying an Existing FTP Account
To update the settings or permissions of an existing FTP account, follow these simple steps:
- Access the Websites & Domains section, select your domain, and then navigate to the FTP settings.
- Locate and click on the specific FTP account name within the displayed list whose properties you wish to modify.
- Implement the necessary changes, such as updating the password, altering the home directory, or adjusting read/write permissions, and then click OK to save your modifications. Regularly reviewing and updating account properties is a good security practice.
Removing an FTP Account
If an FTP account is no longer needed, you can easily remove it from your system. Please note that the primary FTP account associated with your subscription cannot be removed.
- Go to Websites & Domains, select your domain, and proceed to FTP Access.
- Mark the checkbox corresponding to the FTP account you intend to remove. It is crucial to double-check that you are selecting the correct account before proceeding. Then, click the Remove button.
- A confirmation prompt will appear. Verify your decision and click Yes, remove to permanently delete the FTP account. Before removal, ensure that all necessary data has been backed up or transferred, as deleting an account will revoke all associated access.
