


In today's interconnected digital landscape, safeguarding your website or server from unauthorized access and malicious threats is paramount. A robust firewall acts as the first line of defense, meticulously controlling incoming and outgoing network traffic. Understanding how to effectively manage your firewall is therefore an indispensable skill for any server administrator.
Plesk, a widely used web hosting control panel, offers intuitive and powerful tools for configuring your server's firewall. These integrated options simplify the process of establishing security policies, allowing you to protect your digital assets with confidence. This comprehensive guide will walk you through the essential steps to access and manage your firewall settings within Plesk, enabling you to implement custom rules tailored to your specific security requirements. Let's begin enhancing your server's protection.
Configuring Your Firewall in Plesk
Follow these detailed steps to navigate the Plesk interface and establish your firewall rules effectively:
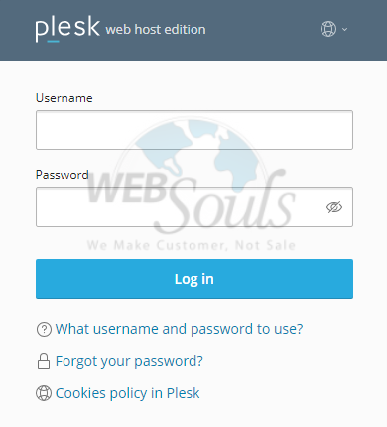
Step 1: Accessing Your Plesk Panel
To begin, open your web browser and navigate to your Plesk login page. Enter your designated username and password into the respective fields and click 'Log In' to gain access to your Plesk control panel.
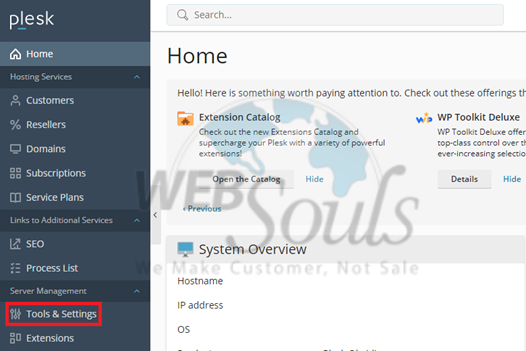
Step 2: Navigating to Tools & Settings
Once you are successfully logged into Plesk, locate the 'Server Management' menu, typically situated on the left-hand side of the dashboard. Within this menu, click on the 'Tools & Settings' option. This section houses various administrative tools and global server configurations, including security features.
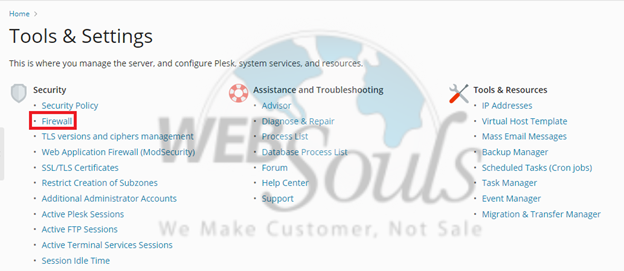
Step 3: Selecting the Firewall Option
On the 'Tools & Settings' page, you will find a range of categories. Look for the 'Security' section and within it, select the 'Firewall' option. This action will direct you to the dedicated firewall management interface, where you can review and modify your server's security rules.
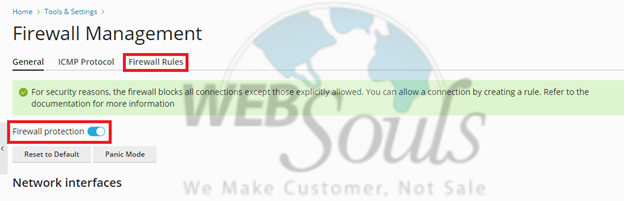
Step 4: Activating Firewall Protection and Accessing Rules
Upon entering the firewall interface, ensure that firewall protection is actively enabled for your server. This is typically indicated by a toggle switch or a similar control. After confirming that the firewall is active, proceed to click on 'Firewall Rules'. This will display a list of current rules and provide options to manage them.
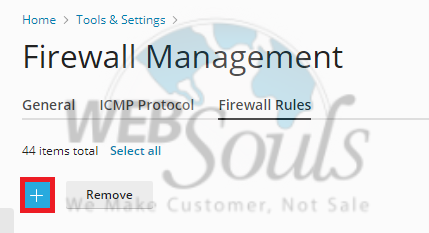
Step 5: Creating New Firewall Rules
To add a new rule, look for an 'Add' or 'Create' button. This option is usually represented by a plus icon or explicitly labeled. Click this button to open the rule creation wizard, where you can define the specifics of your new security policy.
Step 6: Deploying and Applying Changes
Once you have meticulously entered all the necessary details for your new firewall rule, including port numbers, protocols, and IP addresses (if applicable), review your settings carefully. After verification, click the 'OK' or 'Deploy' button to save and apply your changes. The Plesk system will then implement these new rules, fortifying your server's security posture. It's advisable to test the impact of new rules cautiously to avoid inadvertently blocking legitimate traffic.
By following these steps, you can effectively manage and customize your server's firewall settings in Plesk, ensuring a secure and reliable environment for your online operations. Regular review and updates of your firewall rules are crucial to adapt to evolving security threats.
