


In the evolving digital landscape, safeguarding your website and server against unauthorized access and malicious threats is paramount. A properly configured firewall is your first line of defense, acting as a crucial barrier to protect your online assets. Plesk offers a robust set of tools for managing firewall rules, allowing you to tailor your security posture to your specific needs. This comprehensive guide will walk you through the process of accessing and configuring your firewall settings in Plesk, empowering you to maintain a secure environment.
Accessing and Configuring Your Plesk Firewall
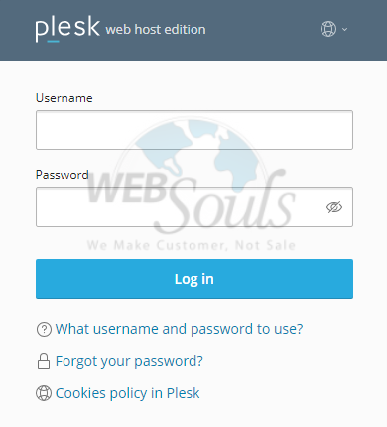
Step 1: Log In to Plesk
To begin, navigate to your Plesk control panel. You will need to enter your designated username and password to gain secure access to the administrative interface.
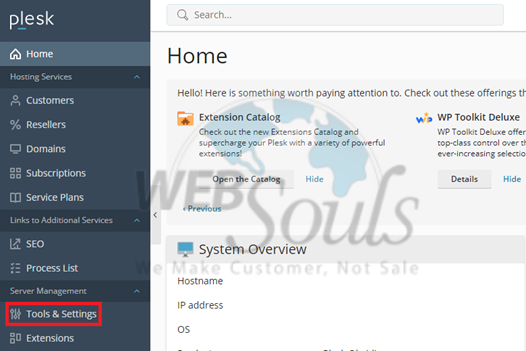
Step 2: Navigate to Tools & Settings
Once successfully logged in, locate the "Server Management" menu, typically positioned on the left-hand side of the page. Within this menu, click on "Tools & Settings" to access a comprehensive suite of administrative options.
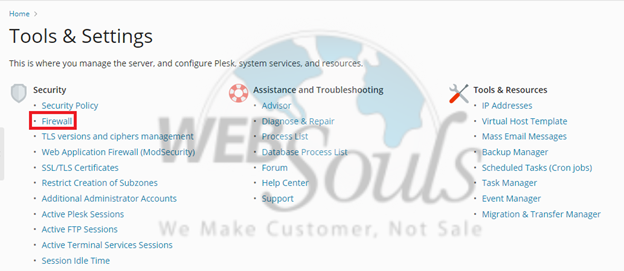
Step 3: Select Firewall Options
Under the "Security" section within the "Tools & Settings" interface, you will find the "Firewall" option. Click on this to proceed to the firewall configuration area, where you can manage your server's security rules.
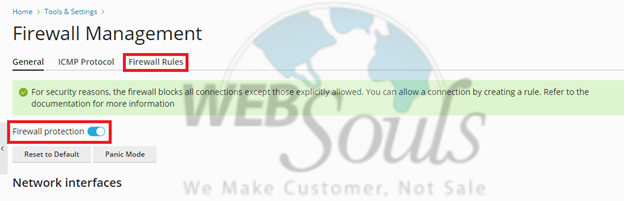
Step 4: Access Firewall Rules
Upon entering the firewall section, ensure that firewall protection is actively enabled by checking the toggle button. After confirming activation, proceed by clicking on 'Firewall Rules'. This will display the existing rules and allow for their modification or the addition of new ones.
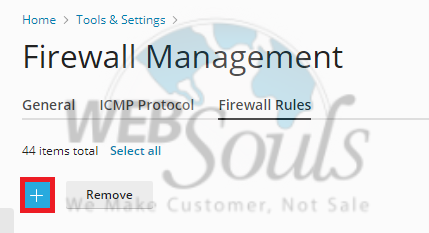
Step 5: Create a New Firewall Rule
To implement a new security policy, you'll need to create a new firewall rule. Locate and click on the "Create" option, which is typically represented by an addition icon, positioned near the delete button. This action will open a form where you can define the parameters of your new rule.
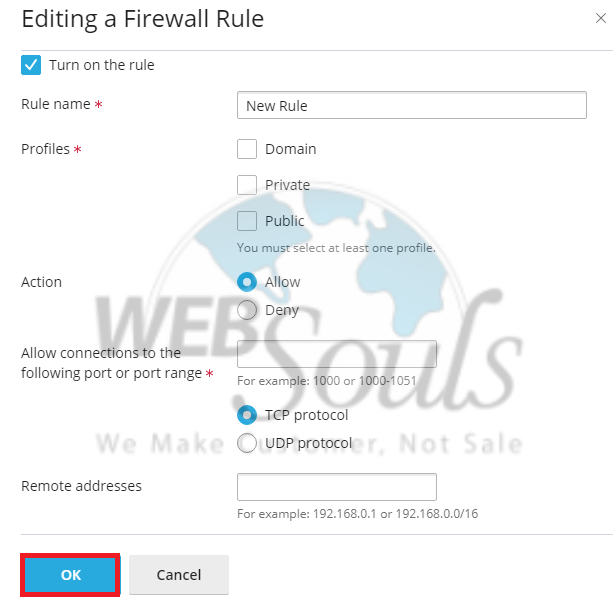
Step 6: Deploy Firewall Changes
After meticulously entering all the necessary data for your new firewall rule, it's crucial to apply these changes. Click the "OK" or "Deploy" button to save and activate your newly configured rule. This ensures that your server's security policies are updated and enforced effectively.
Conclusion
Effectively managing your firewall in Plesk is a fundamental aspect of maintaining a secure online presence. By following these steps, you can confidently configure and deploy firewall rules that protect your website and server from potential vulnerabilities. Regularly reviewing and updating your firewall settings is recommended to adapt to new security challenges and ensure continuous protection for your digital assets.
