


Having covered the installation and hosting aspects of your enterprise resource planning (ERP) system, we now turn our attention to the critical process of creating a robust database for your business operations. This step is fundamental to leveraging the full capabilities of your chosen platform. Database creation is initiated once you have secured an authorized subscription.
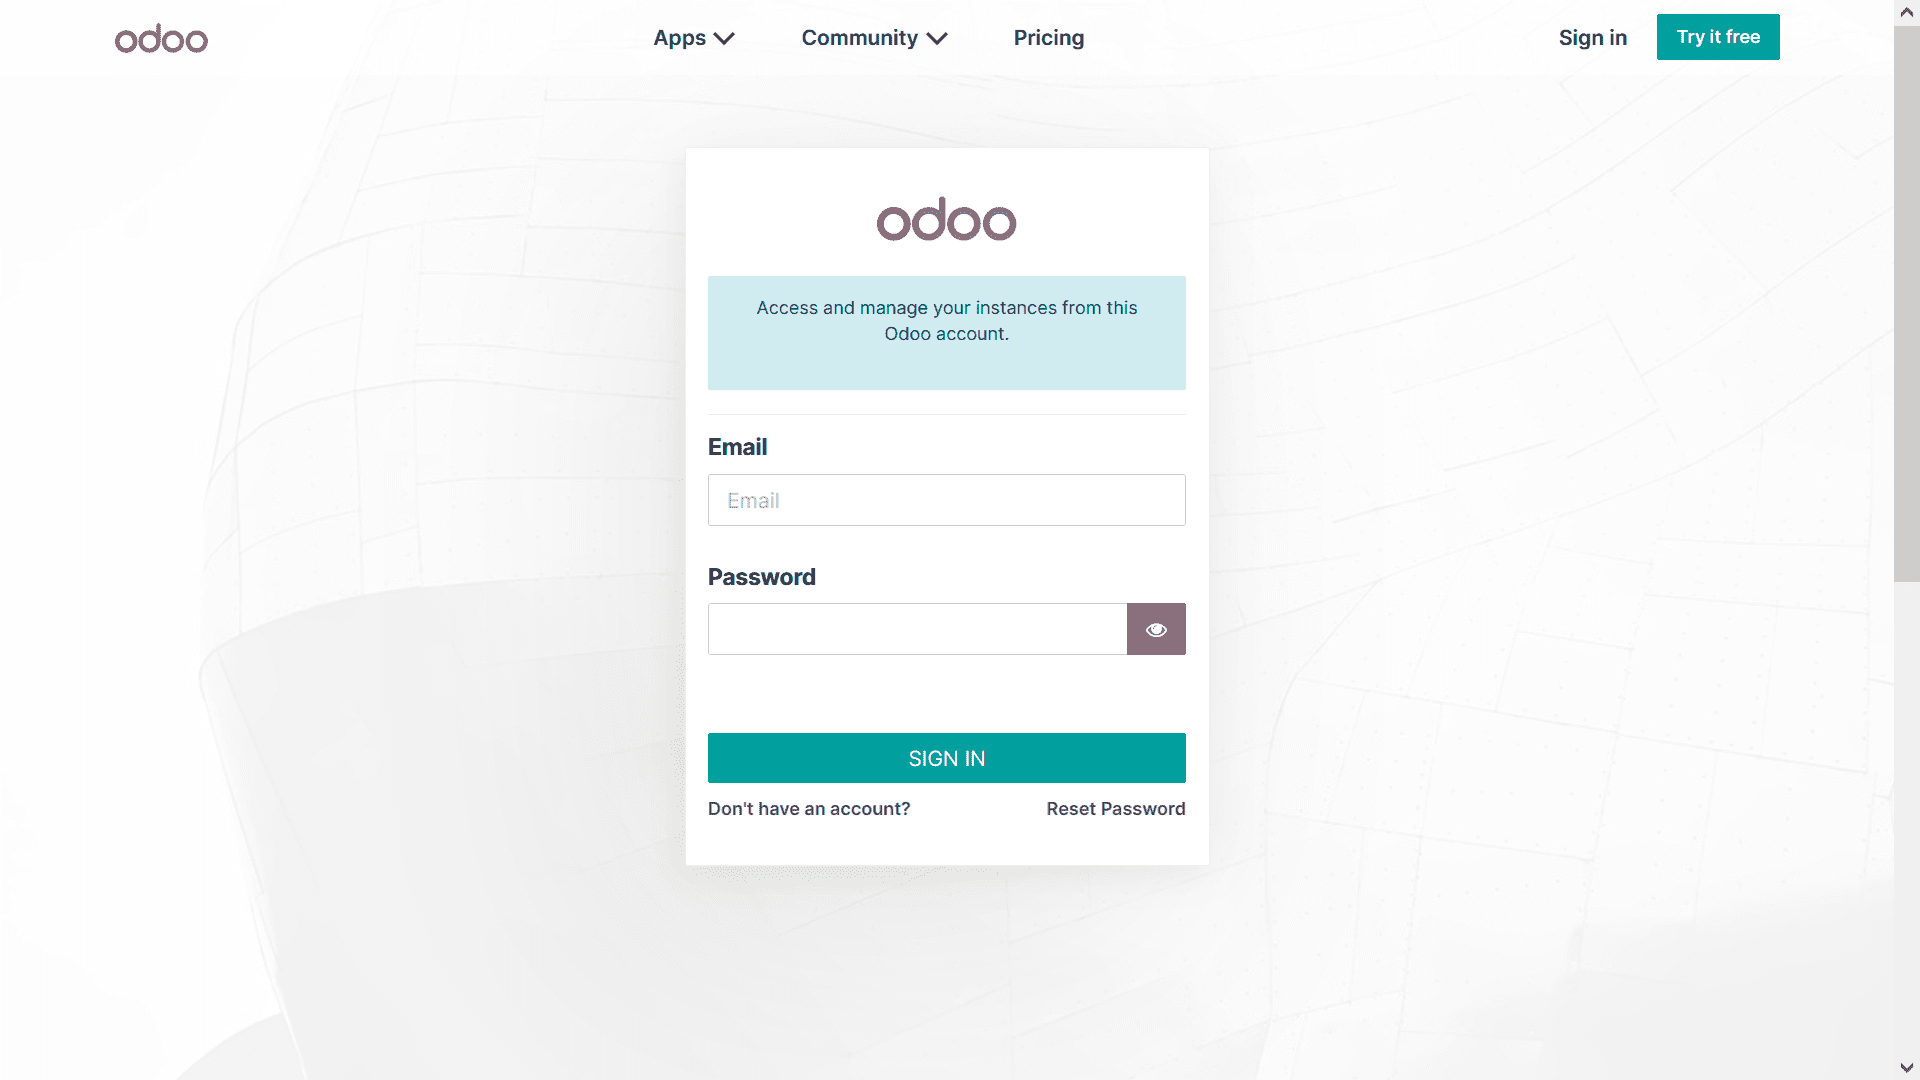
If you do not yet have an account with the system, you can easily establish one through the dedicated registration window, as illustrated in the following screenshot.
Setting Up Your Operational Database
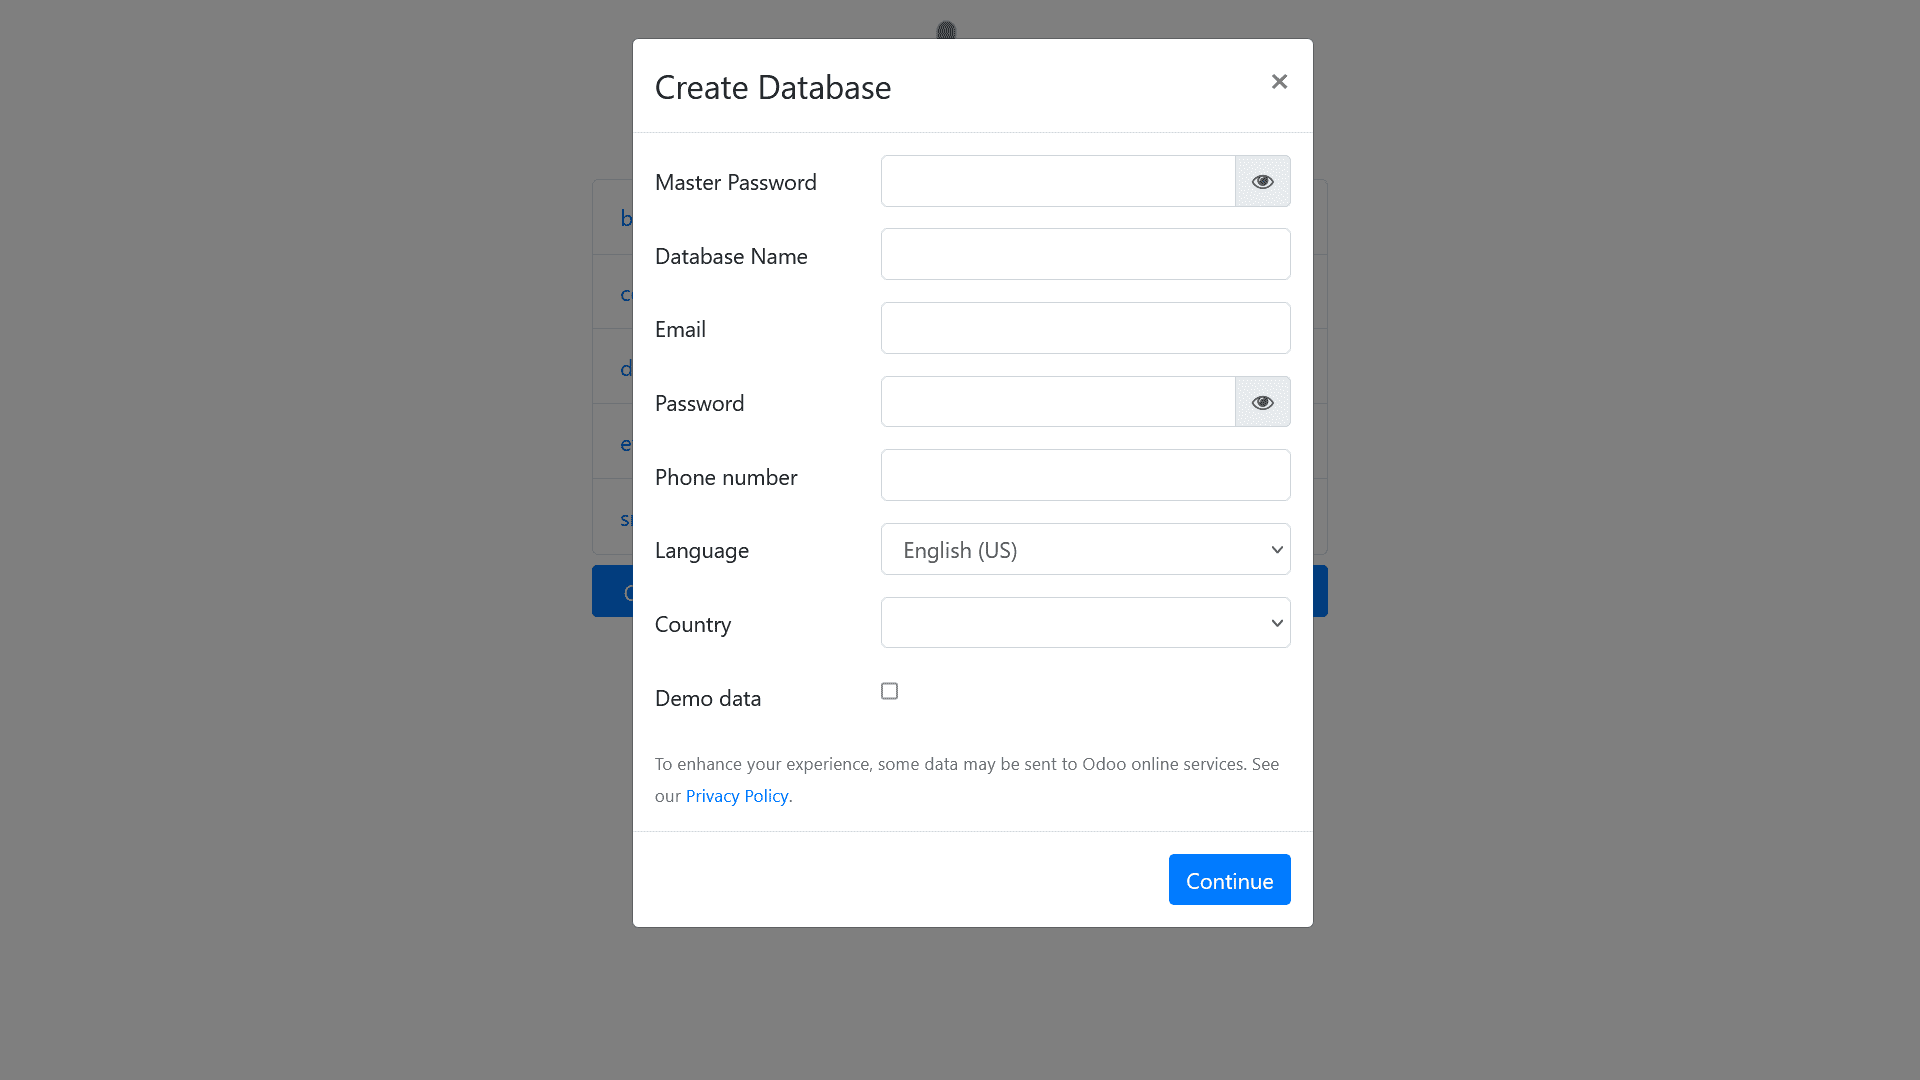
Once your user account is successfully established, the subsequent step involves creating the operational database. To do this, navigate to the "Create Database" option, which becomes accessible after your platform accounts have been configured. Within this database creation interface, as depicted below, you will need to provide several key details:
- Master Password: A crucial security credential.
- Database Name: A unique identifier for your database.
- Email Address: Associated with the database administrator.
- Password: For accessing the database.
- Phone Number: For contact purposes.
- Language: The primary language for the database interface.
- Country: The geographical region where your business operates.
The database configuration will largely depend on the country you select. This is due to the platform's advanced localization features, which integrate region-specific functionalities and compliance standards, ensuring that your system is tailored to your local operational environment and will be further elaborated upon in subsequent sections.
Understanding Demo Data
An important feature within the database creation menu is the option to include "Demo Data." This sample data is provided by the system itself to offer users a hands-on understanding of various operational management aspects without affecting live business data. It serves as an excellent tool for training and exploration. You have the flexibility to remove or modify any demo data according to your specific requirements and learning objectives.
Database Configuration Completion and Dashboard Access
Upon completing the database configuration, select the "Continue" option. You will then be directed to the primary dashboard of your newly created database. It's essential to reiterate that the database's setup is intrinsically linked to the selected country, which facilitates the automatic installation of specific supporting modules relevant to that locale's operational and regulatory landscape.
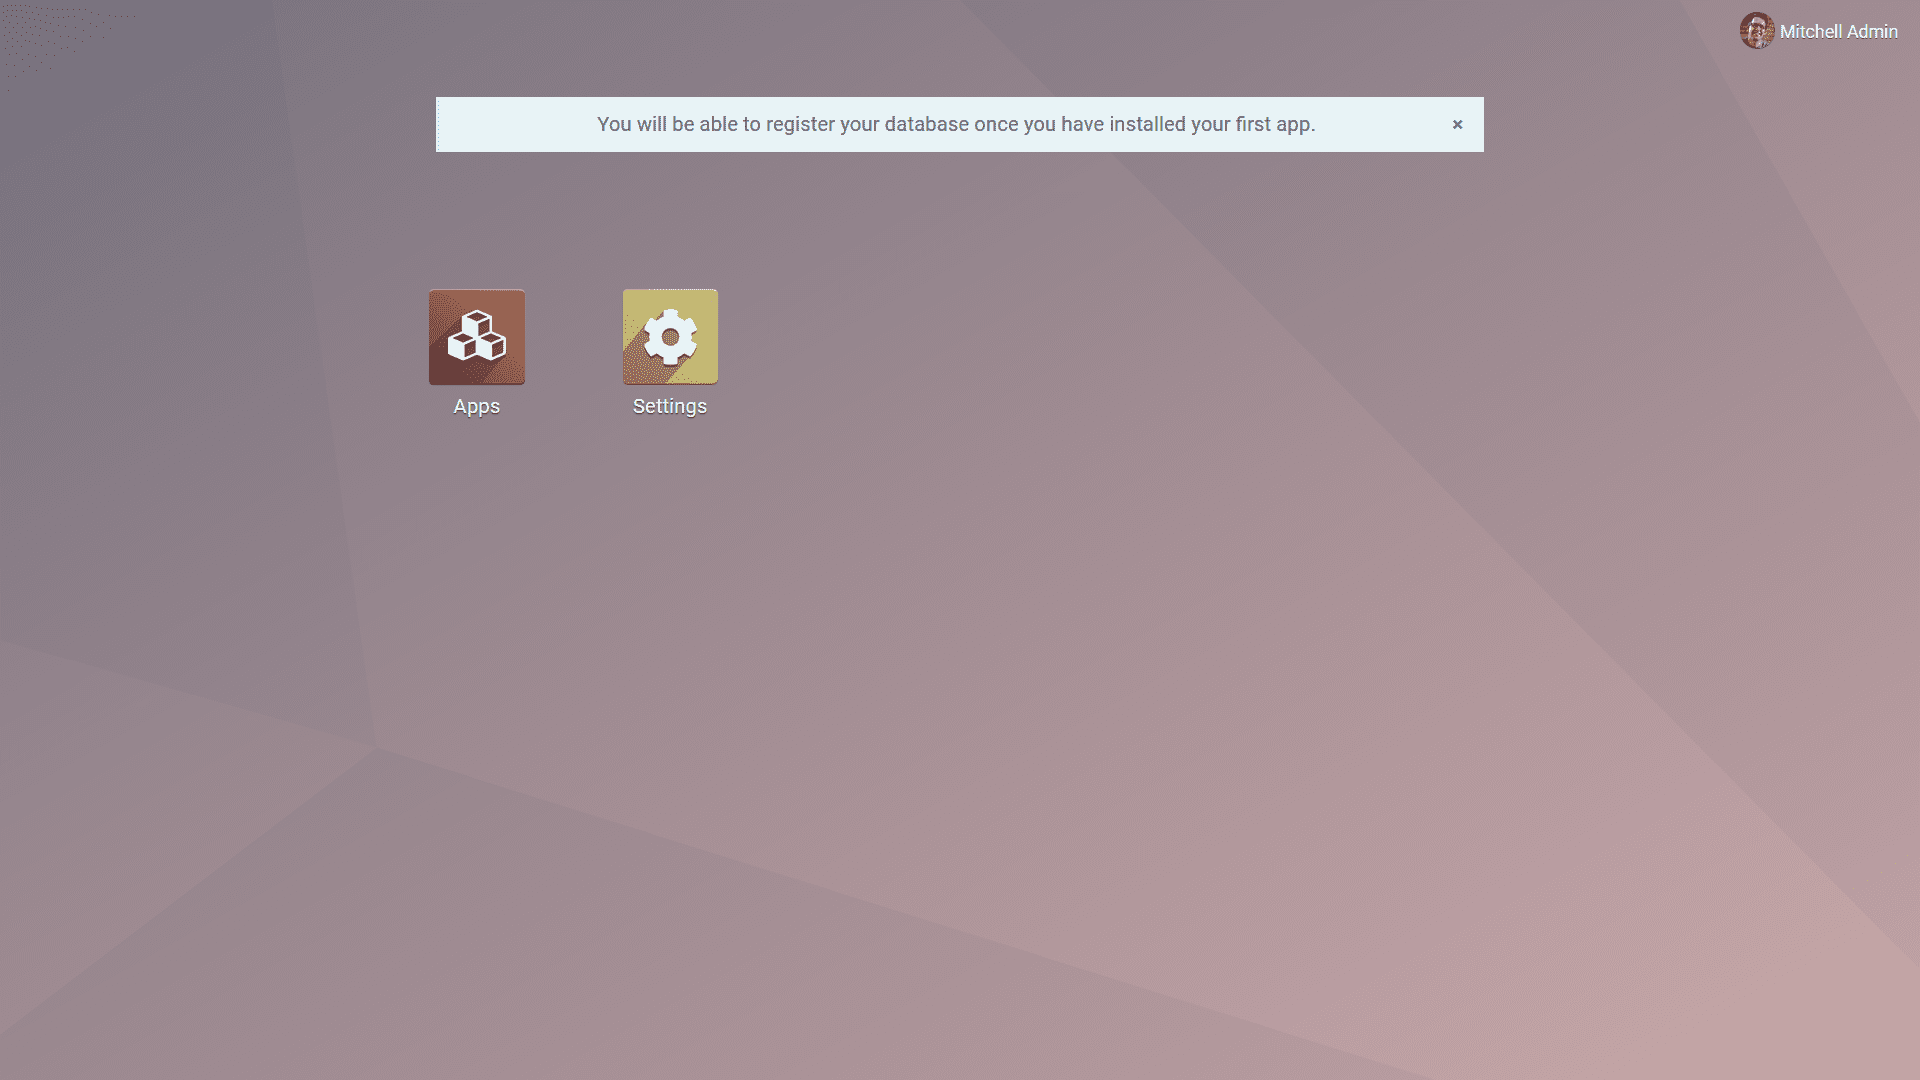
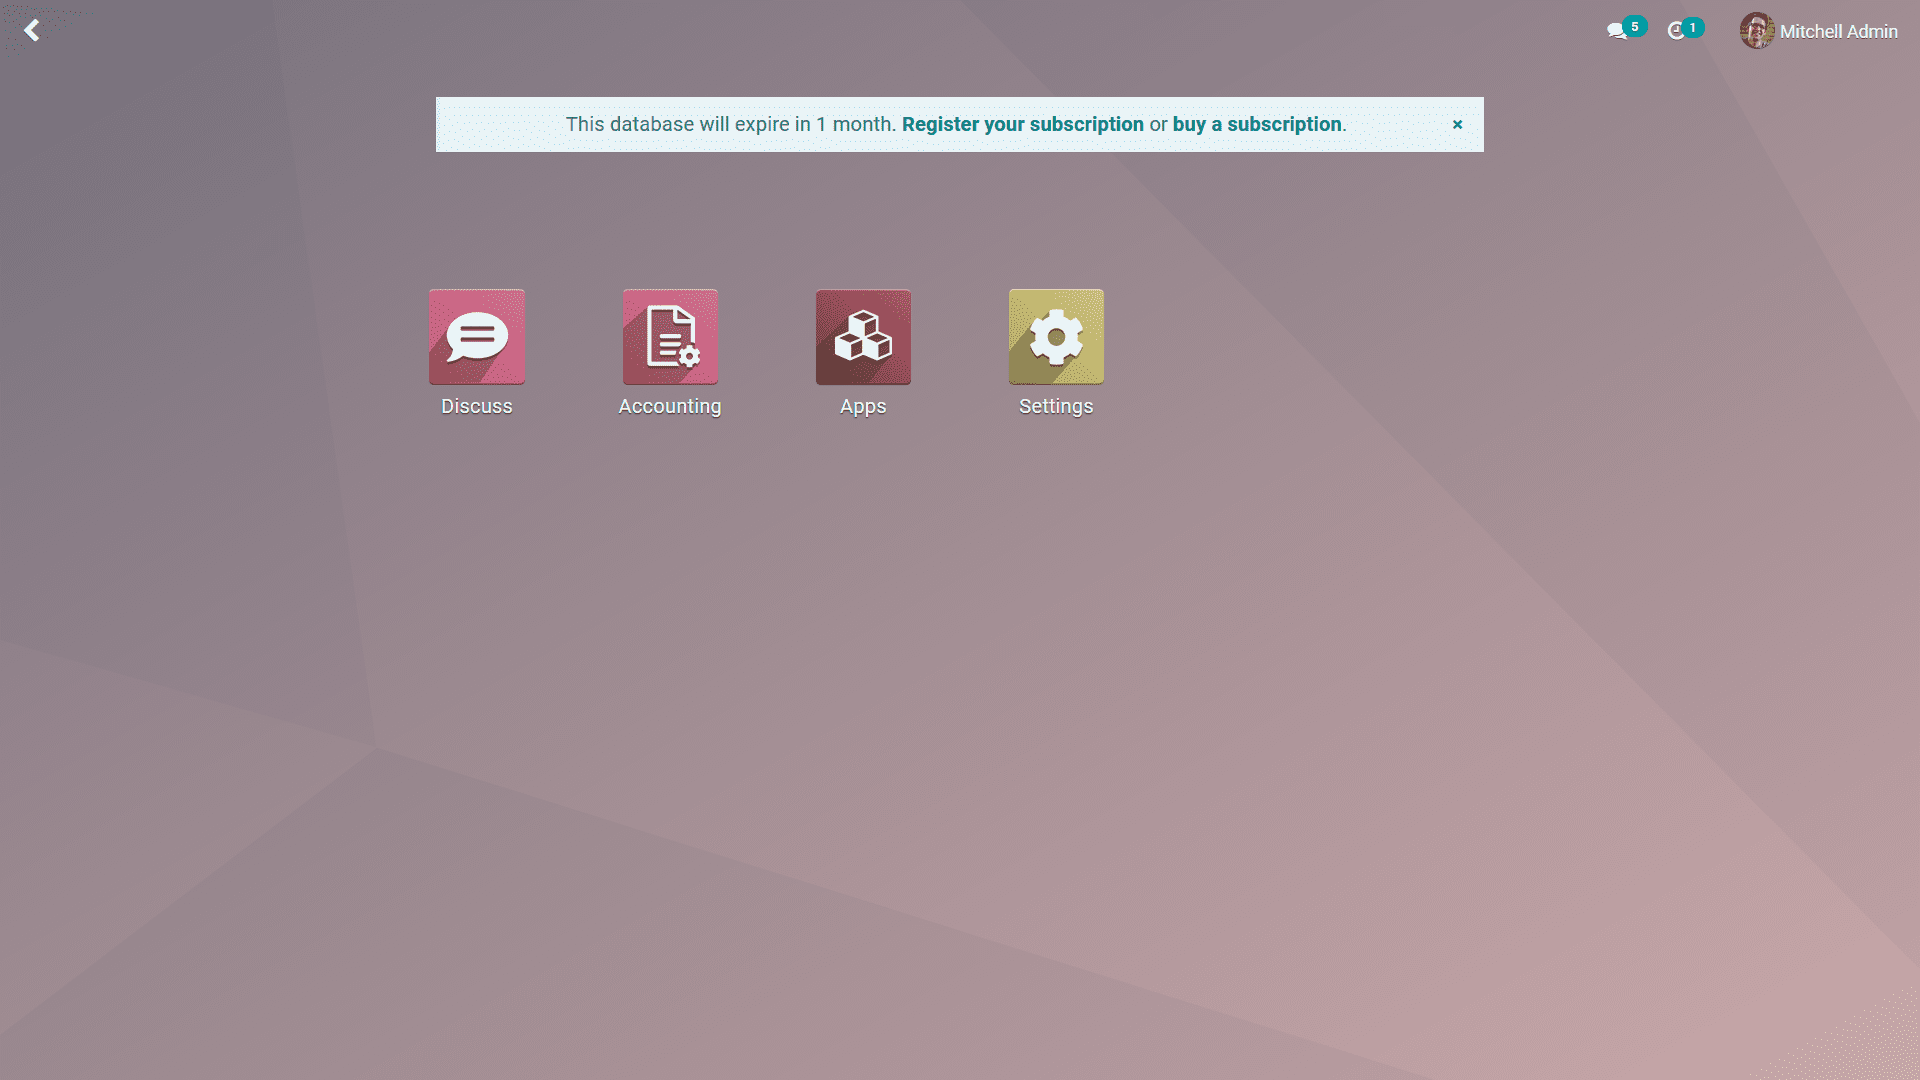
A critical consideration for live operational management: if this database is intended for your company's actual business activities, it is strongly advised not to enable the "Demo Data" option during creation. For a fresh, production-ready environment, no applications or modules will be pre-installed by default. Instead, you will primarily see the "Applications" module and "Settings" options, as shown in the following image, allowing you to build your system from the ground up.
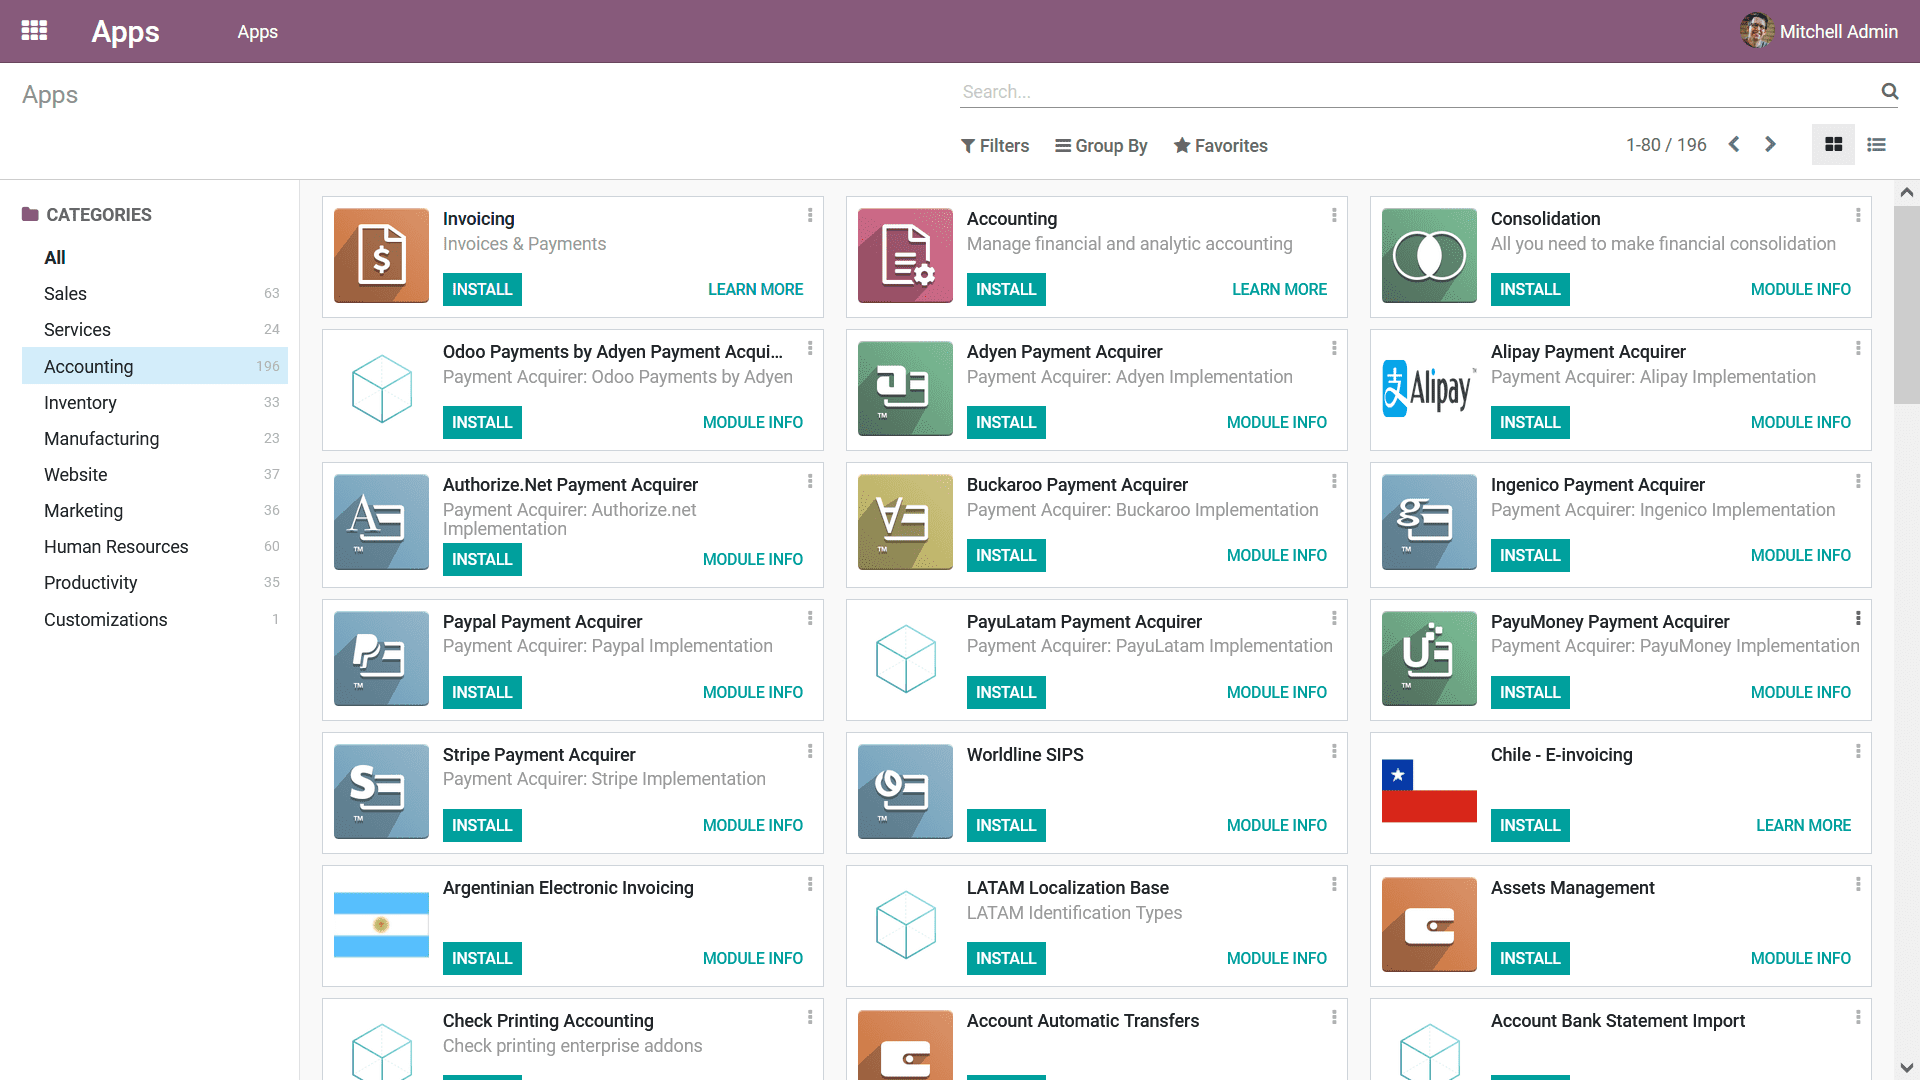
Exploring Available Applications
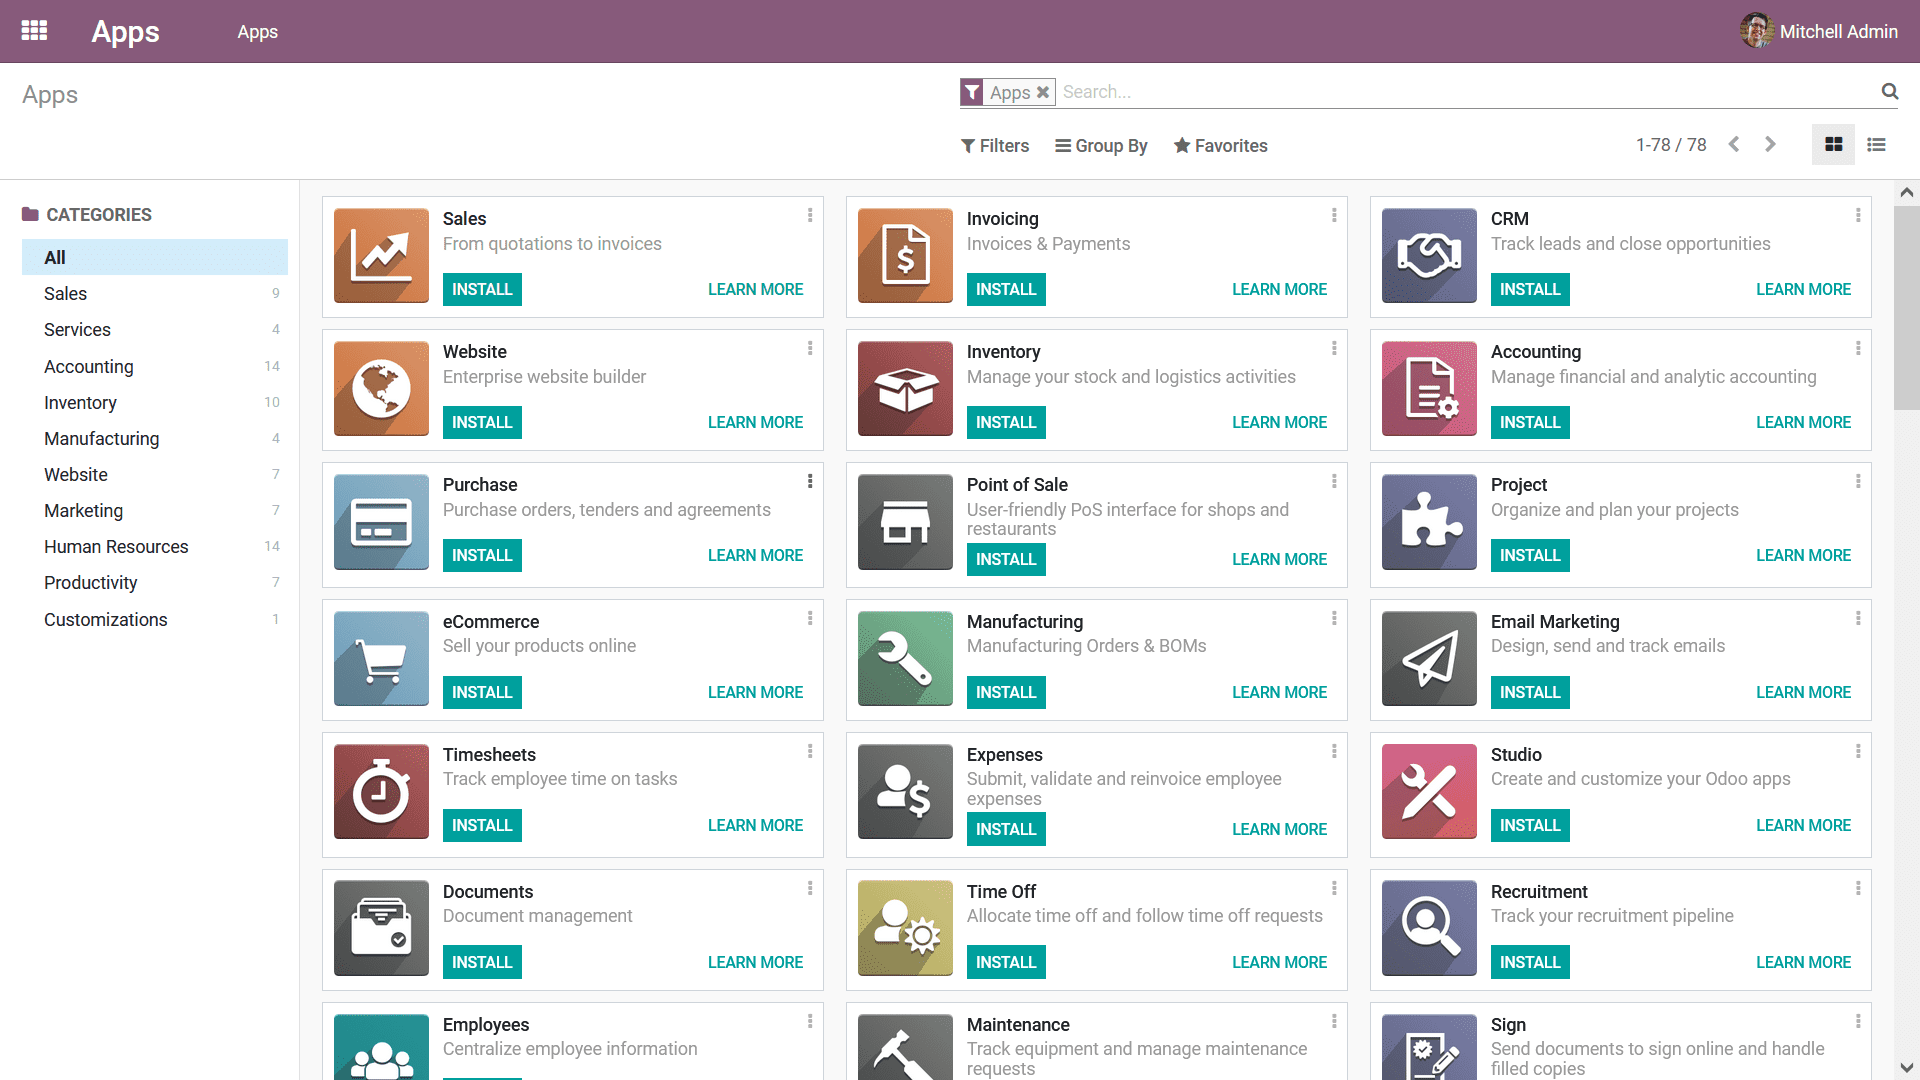
By selecting the "Apps" module, you gain access to the comprehensive catalog of applications available within the platform. These applications are readily available for installation based on your specific business needs and can be tailored to enhance various operational areas. The following image provides a glimpse into the "Apps" module interface.
Focusing on Accounting Modules
Given the focus on financial management, let's explore the applications specifically categorized under "Accounting." Within this category, you will find essential modules such as Invoicing, Accounting (general ledger), Consolidation tools, various Payment Gateway integrations, and additional localization features. These modules can be installed selectively to build a robust financial management system tailored to your requirements.
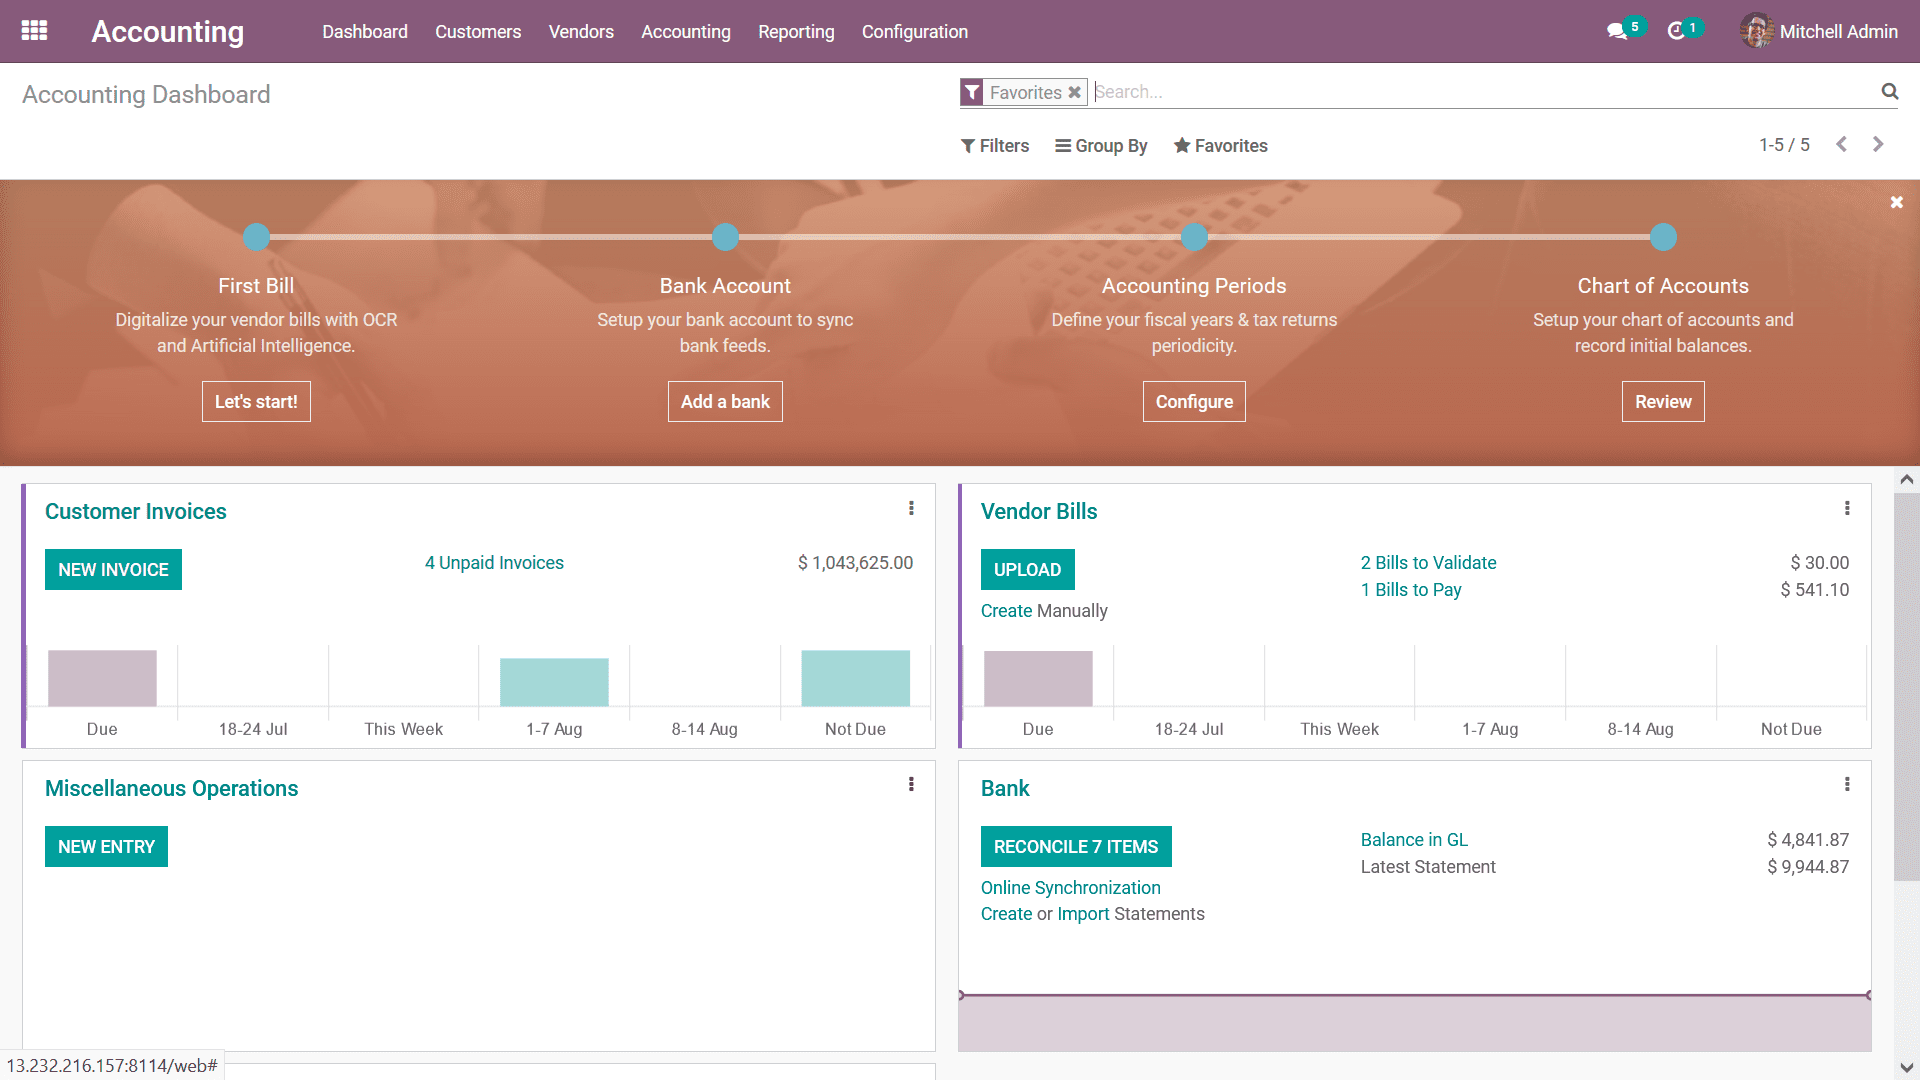
Accessing Installed Modules
Once an application or module is successfully installed, its icon will appear directly on your database's main dashboard, providing quick and easy access. You can navigate to any installed module's home dashboard simply by clicking its respective icon. This streamlined access allows for efficient management of your business processes.
If you initially opted to enable the "Demo Data" feature during database configuration, your newly installed modules will come pre-populated with this predefined sample data. This is particularly useful for initial testing and understanding module functionalities. It is also worth noting that when you install a primary module, any functionally connected supporting modules are often auto-installed simultaneously to ensure seamless operation and integration within the system.
The configuration of the database in your chosen system can be highly customized to meet diverse operational demands. By diligently following the methodologies outlined above, you can establish a database precisely tailored to your business needs. Having explored system installation, hosting, and database configurations, our next discussion will delve into the nuanced aspects of localization within the platform.
