


This tutorial will guide you through the quick and easy process of installing WordPress directly from your cPanel using the Softaculous Apps Installer. By following these straightforward steps, you can have your WordPress site up and running in minutes.
Accessing Softaculous in cPanel
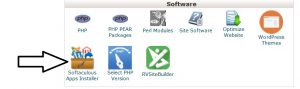
To begin, log in to your cPanel account. Once logged in, navigate to the "Software" section and locate the "Softaculous Apps Installer." Click on this icon to launch the installer.
Initiating the WordPress Installation
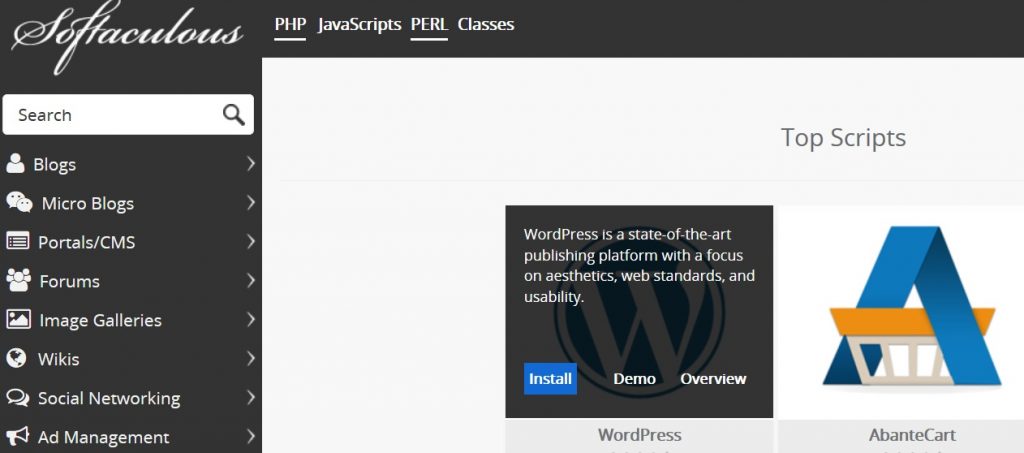
Within the Softaculous interface, hover your mouse over the WordPress icon. A button labeled "Install" will appear; click on this to start the WordPress installation process.
Configuring Your Installation Details
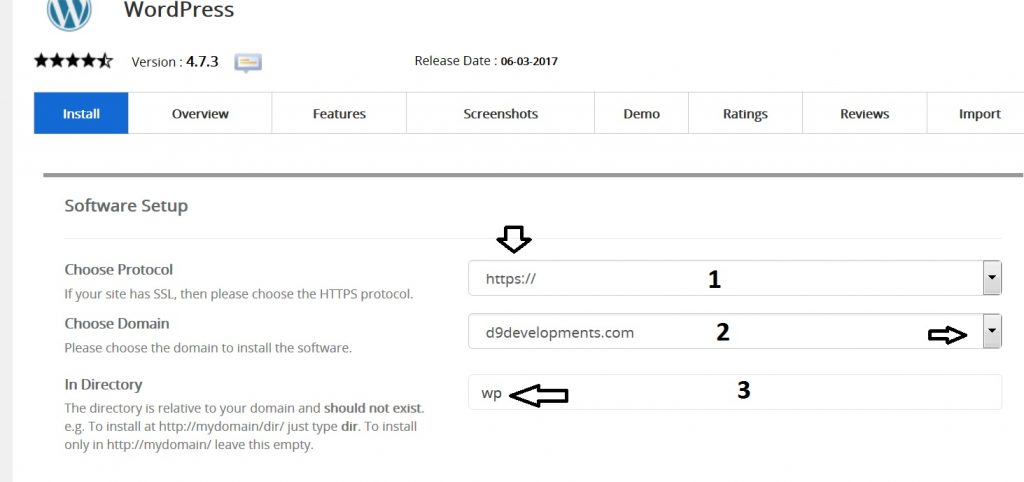
You will now be presented with various installation options. Let's start by configuring the first three crucial settings as shown below.
Choose Protocol
It is highly recommended to select https:// from the dropdown menu. Modern web standards, especially those enforced by Google, now demand that all websites have an SSL Certificate installed. Websites without SSL are often marked as 'unsafe' by browsers, which can deter visitors. With D9 Hosting, all clients benefit from automatically installed free SSL Certificates, ensuring your site is recognized as secure.
Choose Domain
If your account hosts only a single domain, it will typically be pre-selected in this box. For those installing on an addon domain or multiple domains, use the dropdown menu to accurately select the domain where you wish to install WordPress.
In Directory
This setting determines the subdirectory where WordPress will be installed. It is crucial to avoid leaving this as "wp," as this would mean your blog is accessible via https://yourdomain.com/wp.
- If you want WordPress to be installed directly on your main domain (e.g.,
https://yourdomain.com), ensure this box is left completely empty. - If you prefer to install your blog within a specific folder, for example,
blog(making your site accessible athttps://yourdomain.com/blog), then simply type the desired folder name into this third box.
Setting Up Your Site and Admin Account
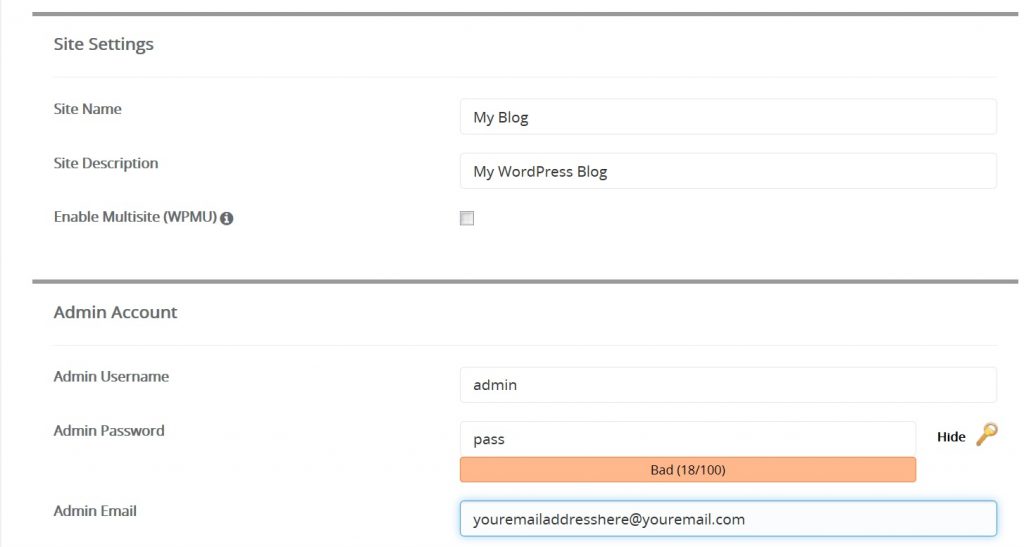
Next, we will address the site-specific details and set up your administrator account. Refer to the image below for visual guidance.
Site Name
Enter the desired name for your website here. This name will typically appear in the header of your blog and in browser tabs, such as "Joe Bloggs Cool Blog." Choose a name that clearly represents your site's purpose.
Site Description
Provide a concise description for your blog. This can be a short tagline or a brief summary of your site's content. While optional, a good description can aid in SEO and inform visitors about your site. You may also choose to leave this blank for now and configure it later from the WordPress dashboard.
Admin Username
It is critically important that you DO NOT use "admin" as your username. This is a common security vulnerability, as "admin" is often the first username hackers attempt. Instead, create a unique and strong username using a combination of uppercase and lowercase letters, numerals, and special characters (e.g., ! & % *). Make sure to write down this username immediately and store it in a secure location.
Admin Password
Similar to your username, your admin password must be robust. Select a secure password that includes a mix of uppercase and lowercase letters, numbers, and special characters. A strong password significantly enhances the security of your WordPress installation. Record this password immediately and keep it safe alongside your username.
Admin Email
Enter an email address that you actively use and have full access to. Do not rely on any automatically inserted example email, as it likely does not exist or is not monitored. If this is a new domain, ensure you have already created the email address within your cPanel. This email will be used for important notifications and, crucially, for resetting your login details should you ever forget or misplace them. You can always change this email address later from your WordPress dashboard.
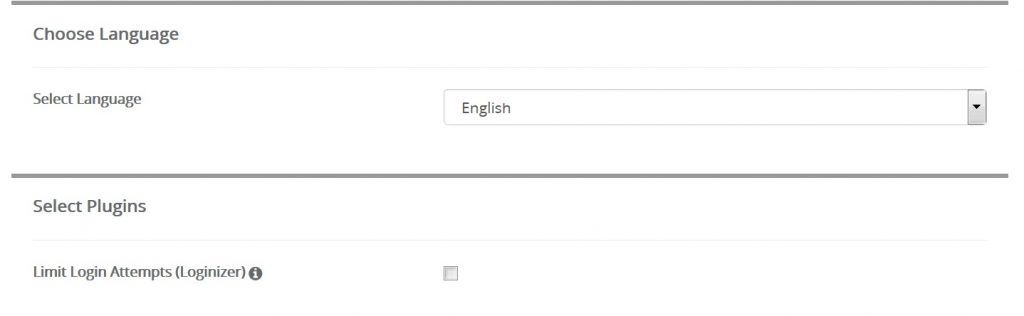
Select Language
This section allows you to choose your preferred language for the WordPress interface. English is the default, but you can select any other language from the available options to suit your needs.
Enhancing Security and Advanced Options
WordPress offers several features to enhance your site's security and automate essential maintenance tasks.
Limit Login Attempts
Activating the "Limit Login Attempts" feature is highly recommended. This setting helps to deter brute-force attacks from bots that repeatedly try to guess usernames and passwords. With this enabled, attempts to log in will be restricted after a few incorrect entries, preventing malicious users from bombarding your site with millions of combinations. Be aware that this also applies to legitimate users, so ensure your login details are kept safe to avoid accidentally locking yourself out for a period.
Advanced Options Overview
The "Advanced Options" section provides further control over your installation. By default, these options are collapsed. Click on the '+' sign, as indicated in the image below, to expand and view them.

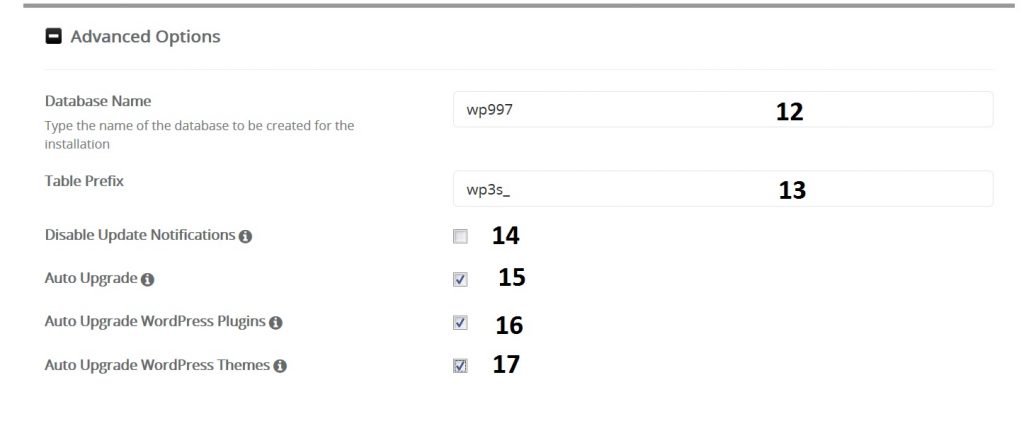
Database Name and Table Prefix
For most users, the default settings for the "Database Name" and "Table Prefix" can be left as they are. These are automatically generated for optimal performance and security.
Disable Notifications
It is strongly advised NOT to check the "Disable Notifications" box. Enabling this would prevent you from receiving crucial email notifications about WordPress updates. Keeping your WordPress installation up-to-date with the latest versions is paramount, as these updates often include vital security patches and performance improvements. Neglecting updates leaves your website vulnerable to potential hacking attempts.
Auto Upgrade WordPress
The "Auto Upgrade" feature for WordPress is a convenient option, especially for users managing a single blog. When activated, your WordPress installation will automatically update to the latest version as soon as it's released, ensuring you always benefit from the newest features and security enhancements without manual intervention.
Auto Upgrade WordPress Plugins
Just like WordPress core, plugins require regular updates. This feature automates the updating of your installed plugins to their latest versions, which is crucial for maintaining security, compatibility, and functionality across your site.
Auto Upgrade WordPress Themes
If you are using a theme from a reputable developer or one from the official WordPress repository, it will likely receive regular updates. Enabling "Auto Upgrade Themes" ensures your theme remains current, providing the latest features and security fixes.
For comprehensive information on securing your WordPress website and additional best practices, please consult the articles available in the D9 Hosting knowledgebase: https://d9clients.com/knowledgebase/36/Wordpress
Choosing Your Theme
The "Select a Theme" section allows you to pick an initial design for your WordPress site.
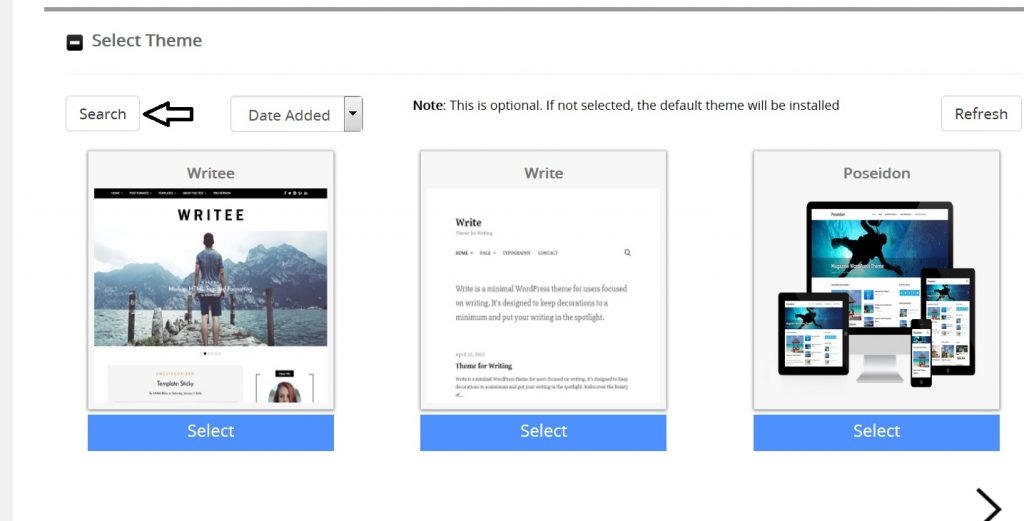
You can either choose from the three featured themes presented or click the "Search" button to explore a wide array of WordPress-approved themes. Each theme typically offers a demo, allowing you to preview its design and functionality before making your selection and proceeding with the installation.
Finalizing the Installation
Before you click the "Install" button, ensure you have inserted your email address into the designated box. This is a critical step, as your login details will be emailed to you for safekeeping, providing a duplicate record in addition to the credentials you noted down earlier.
Post-Installation Access
Congratulations! With just a few quick clicks, your WordPress blog is now successfully installed. You can access your blog's administrative dashboard at the following URL:
https://yourdomain.com/wp-admin
Replace yourdomain.com with your actual domain name to log in and begin customizing your new WordPress website.
