


A domain name serves as the human-readable identifier for a website, enabling users to access it on the internet. The critical process of translating these human-readable names into machine-readable IP addresses is handled by the Domain Name System (DNS). Ensuring the accuracy of your DNS settings is paramount, as incorrect configurations can significantly disrupt your online services, potentially leading to website unavailability or email delivery failures. Plesk offers robust functionality, allowing it to act as either the primary or a secondary name server for your domains. While DNS settings are typically configured automatically for convenience, the Plesk interface provides comprehensive tools for manual adjustments. Furthermore, if your domain's DNS service is managed by third-party name servers, you have the flexibility to disable the DNS service within Plesk entirely.
Adding and Modifying DNS Records
Important Note: This section is intended for advanced users with a solid understanding of DNS principles. Incorrectly configuring DNS settings can have adverse effects on the accessibility of your website and mail services, potentially leading to downtime or service interruptions. Proceed with caution and ensure you understand the implications of any changes.
Upon the creation of each new domain name, Plesk automatically establishes a DNS zone. This zone is configured according to the default settings provided by your service provider, ensuring basic functionality. For most users, these automatic configurations are sufficient, and domain names will operate without issue. However, for those utilizing Plesk as their authoritative name server who require specialized adjustments to their domain's DNS zone, custom modifications can be easily performed through your control panel.
To view the existing resource records within a domain's DNS zone, navigate to Websites & Domains, then select DNS Settings.
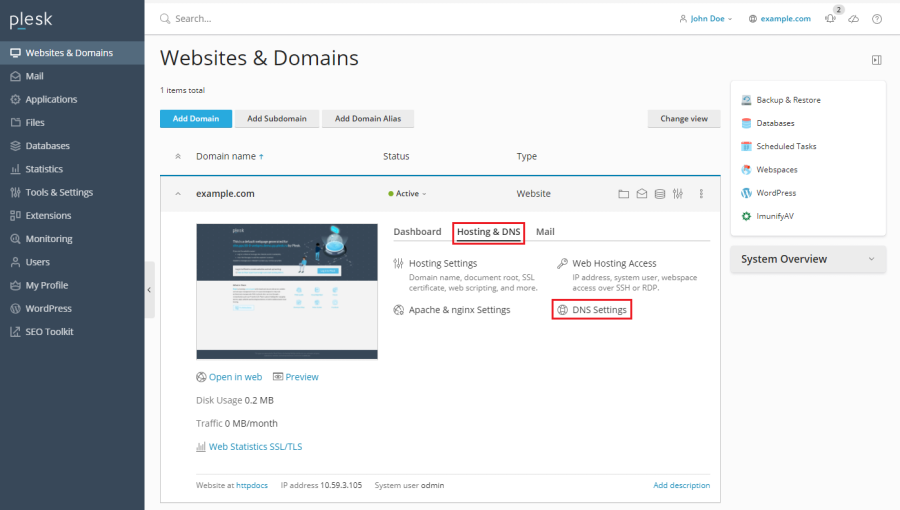
Should you need to add a new resource record to the zone, proceed to Websites & Domains > DNS Settings, and subsequently click on the Add Record option.
To modify the properties of an existing resource record, access Websites & Domains > DNS Settings and then click directly on the record you wish to edit.
Beyond standard resource records such as A, MX, CNAME, and TXT, every DNS zone includes a crucial Start of Authority (SOA) record. This record signifies that the particular DNS name server is authoritative and responsible for the domain’s DNS zone. The SOA record also encapsulates essential settings that govern the propagation of information about the DNS zone across the broader Domain Name System. These settings include details like the primary name server, the administrative contact for the domain, the serial number of the zone (which indicates when the zone file was last updated), and critical timing parameters such as the refresh, retry, expire, and minimum TTL (Time To Live) values. Understanding and managing these values can significantly impact how quickly DNS changes are reflected globally.
Using External DNS Servers
For users hosting websites on their account who prefer not to utilize Plesk as their primary DNS server, several flexible options are available to manage your domain's DNS through external services:
- Use Plesk name server as a secondary name server: This option is ideal if you have an independent, standalone name server that serves as the primary authority for your websites. In this setup, Plesk acts as a backup, providing redundancy and ensuring continuous DNS resolution.
- Disable DNS for your domain in Plesk: Choose this option if your domain's DNS is entirely managed by external primary and secondary name servers. This approach is suitable when external providers are fully authoritative for your websites, allowing Plesk to defer all DNS responsibilities.
To configure the Plesk DNS server to function as a secondary name server, navigate to Websites & Domains > DNS Settings, and then click on the Switch to Secondary option.
Conversely, to revert the Plesk DNS server to its primary role, go to Websites & Domains > DNS Settings and click Switch to Primary.
If you wish to completely deactivate Plesk’s DNS service for a site whose DNS is handled by external name servers, access Websites & Domains > DNS Settings and select Disable.
