


Installing WordPress with Softaculous in cPanel
For many users, installing software from the command line can be intimidating. Softaculous provides a graphical interface with trusted scripts to make the installation process straightforward. It is an auto-installer that simplifies installing web apps, offering hundreds of scripts for the most popular hosting software. This guide will walk you through installing WordPress using the Softaculous Apps Installer, a tool commonly found in the cPanel software dashboard.
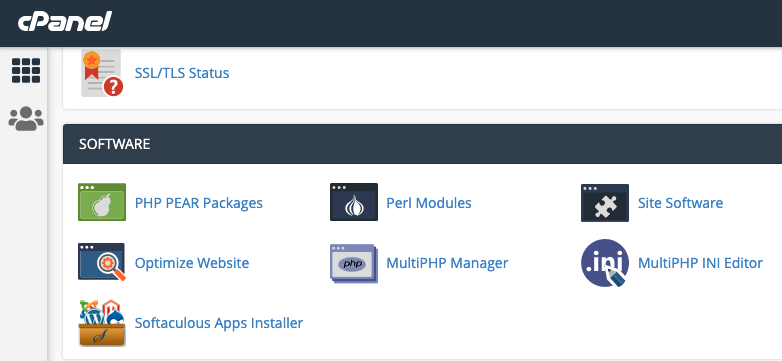
Finding the Softaculous Apps Installer
To begin, you will need to log in to your cPanel account. In cPanel, the Softaculous Apps Installer can typically be found under the “Software” section, or you can find it by using the search bar.
Starting the WordPress Installation
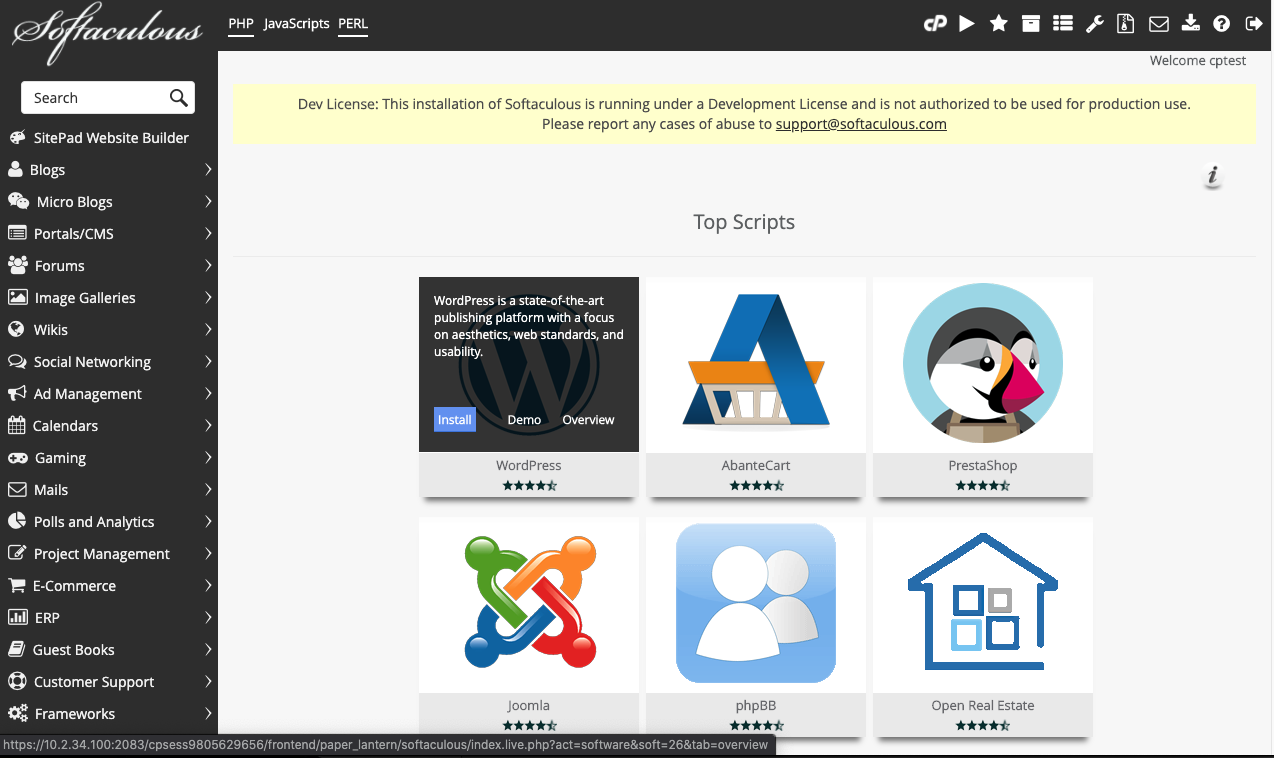
Softaculous is very easy to use. It has multiple layers of settings you can customize to suit your needs, and it allows you to install hundreds of software titles with just a click. Hover over the software you wish to install—in this case, WordPress. This will display information about the application and an “Install” button. Click the install button to proceed.
Configuring Your WordPress Site
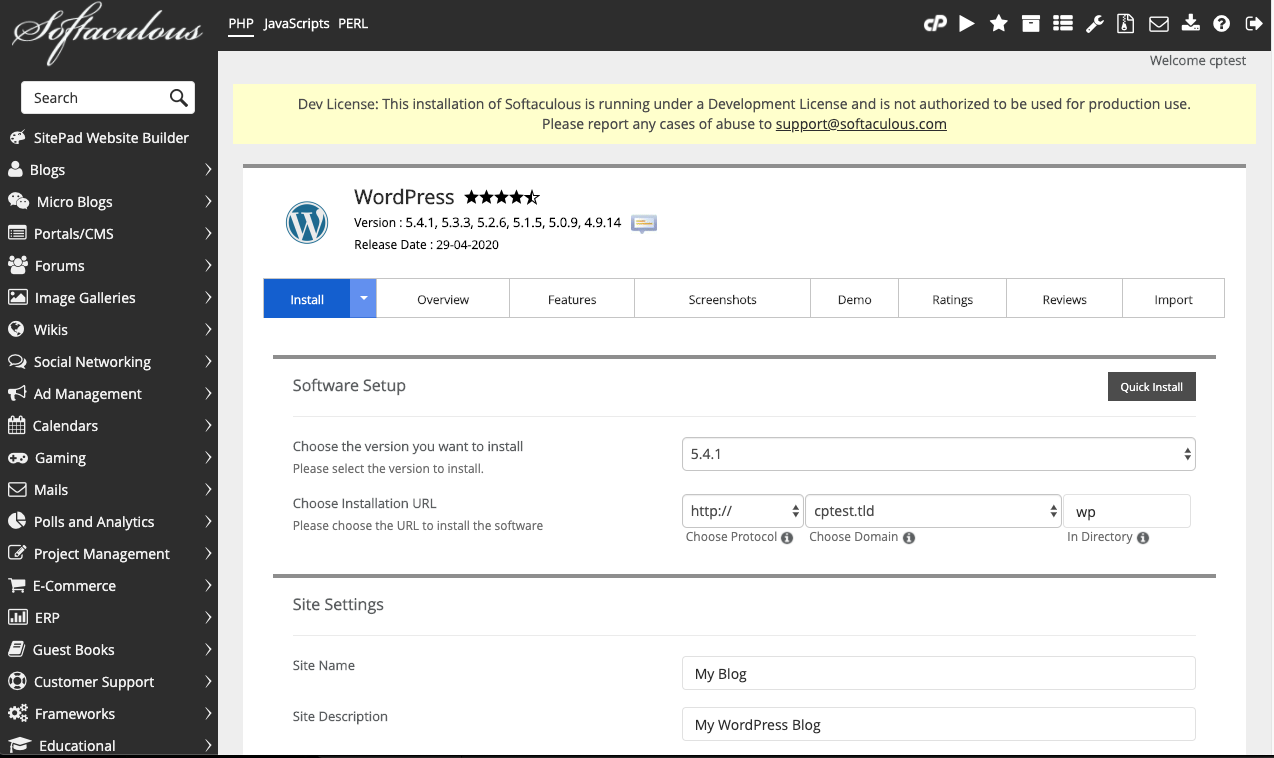
Once you’ve clicked “Install,” Softaculous will walk you through the configuration options for your new WordPress site. You can choose to hit the “Quick Install” button to use generic presets that can be changed later, or you can specify the options on the screen. Key settings to configure include:
- Choose Installation URL: Select the domain and directory where you want WordPress installed. To install it on your main domain (e.g., yourdomain.com), leave the "In Directory" field empty.
- Site Settings: Enter your Site Name and Site Description. These can be changed later from the WordPress dashboard.
- Admin Account: Choose a secure administrator username and password, and enter your email address. This email will be used for notifications and password resets.
After configuring the options, scroll to the bottom and click the final “Install” button.
First Steps After Installation
With a few easy clicks, your site will be up and running. Once the installation is complete, Softaculous will provide you with two links: one to your website's homepage and another to your WordPress administrator dashboard. Now, let's cover the essential first steps to get your site configured.
How to Log In to Your WordPress Dashboard
You can log in to your WordPress administrator dashboard using the link provided by Softaculous upon successful installation. You can also access it at any time by navigating to your WordPress login URL (e.g., `yourdomain.com/wp-admin/`) directly from your browser. Use the administrator username and password you created during the installation process.
Choose and Install a New Theme
In WordPress, a layout is called a "theme." It is a collection of files that controls how your website looks and feels, including colors, fonts, and structure, without changing your content. To install a new theme, navigate to Appearance » Themes in your WordPress dashboard and click ‘Add New Theme’. You can browse thousands of free themes from the official WordPress directory or upload a premium theme you have purchased. When selecting a theme, consider if it is mobile-friendly, loads quickly, and matches your website's purpose.
Install Essential Plugins
WordPress plugins are like apps for your site, allowing you to add new features and functionality without writing code. You should install a few essential plugins for security, performance, and SEO.
- Performance Plugins: To make your site load faster, consider installing a caching plugin like WP Super Cache.
- Security Plugins: Add an extra layer of protection to your website with a comprehensive security plugin to protect against common threats.
- Contact Forms: Every website needs a contact form. A plugin like WPForms allows you to easily create and add forms to your site.
To install a plugin, go to Plugins » Add New, search for the desired plugin, and click "Install Now," followed by "Activate."
Create Your First Page or Post
WordPress comes with two main content types: pages and posts. Pages are for static, timeless content like your "About" or "Contact" page. Posts are for blog content and appear in reverse chronological order. To create your first page, go to Pages » Add New. For a blog post, navigate to Posts » Add New. Both use the same block editor, where you can add a title and then use blocks to add text, images, videos, and other content. When you’re done, you can save it as a draft or click ‘Publish’ to make it live on your website.
